Trips
Manage Trips
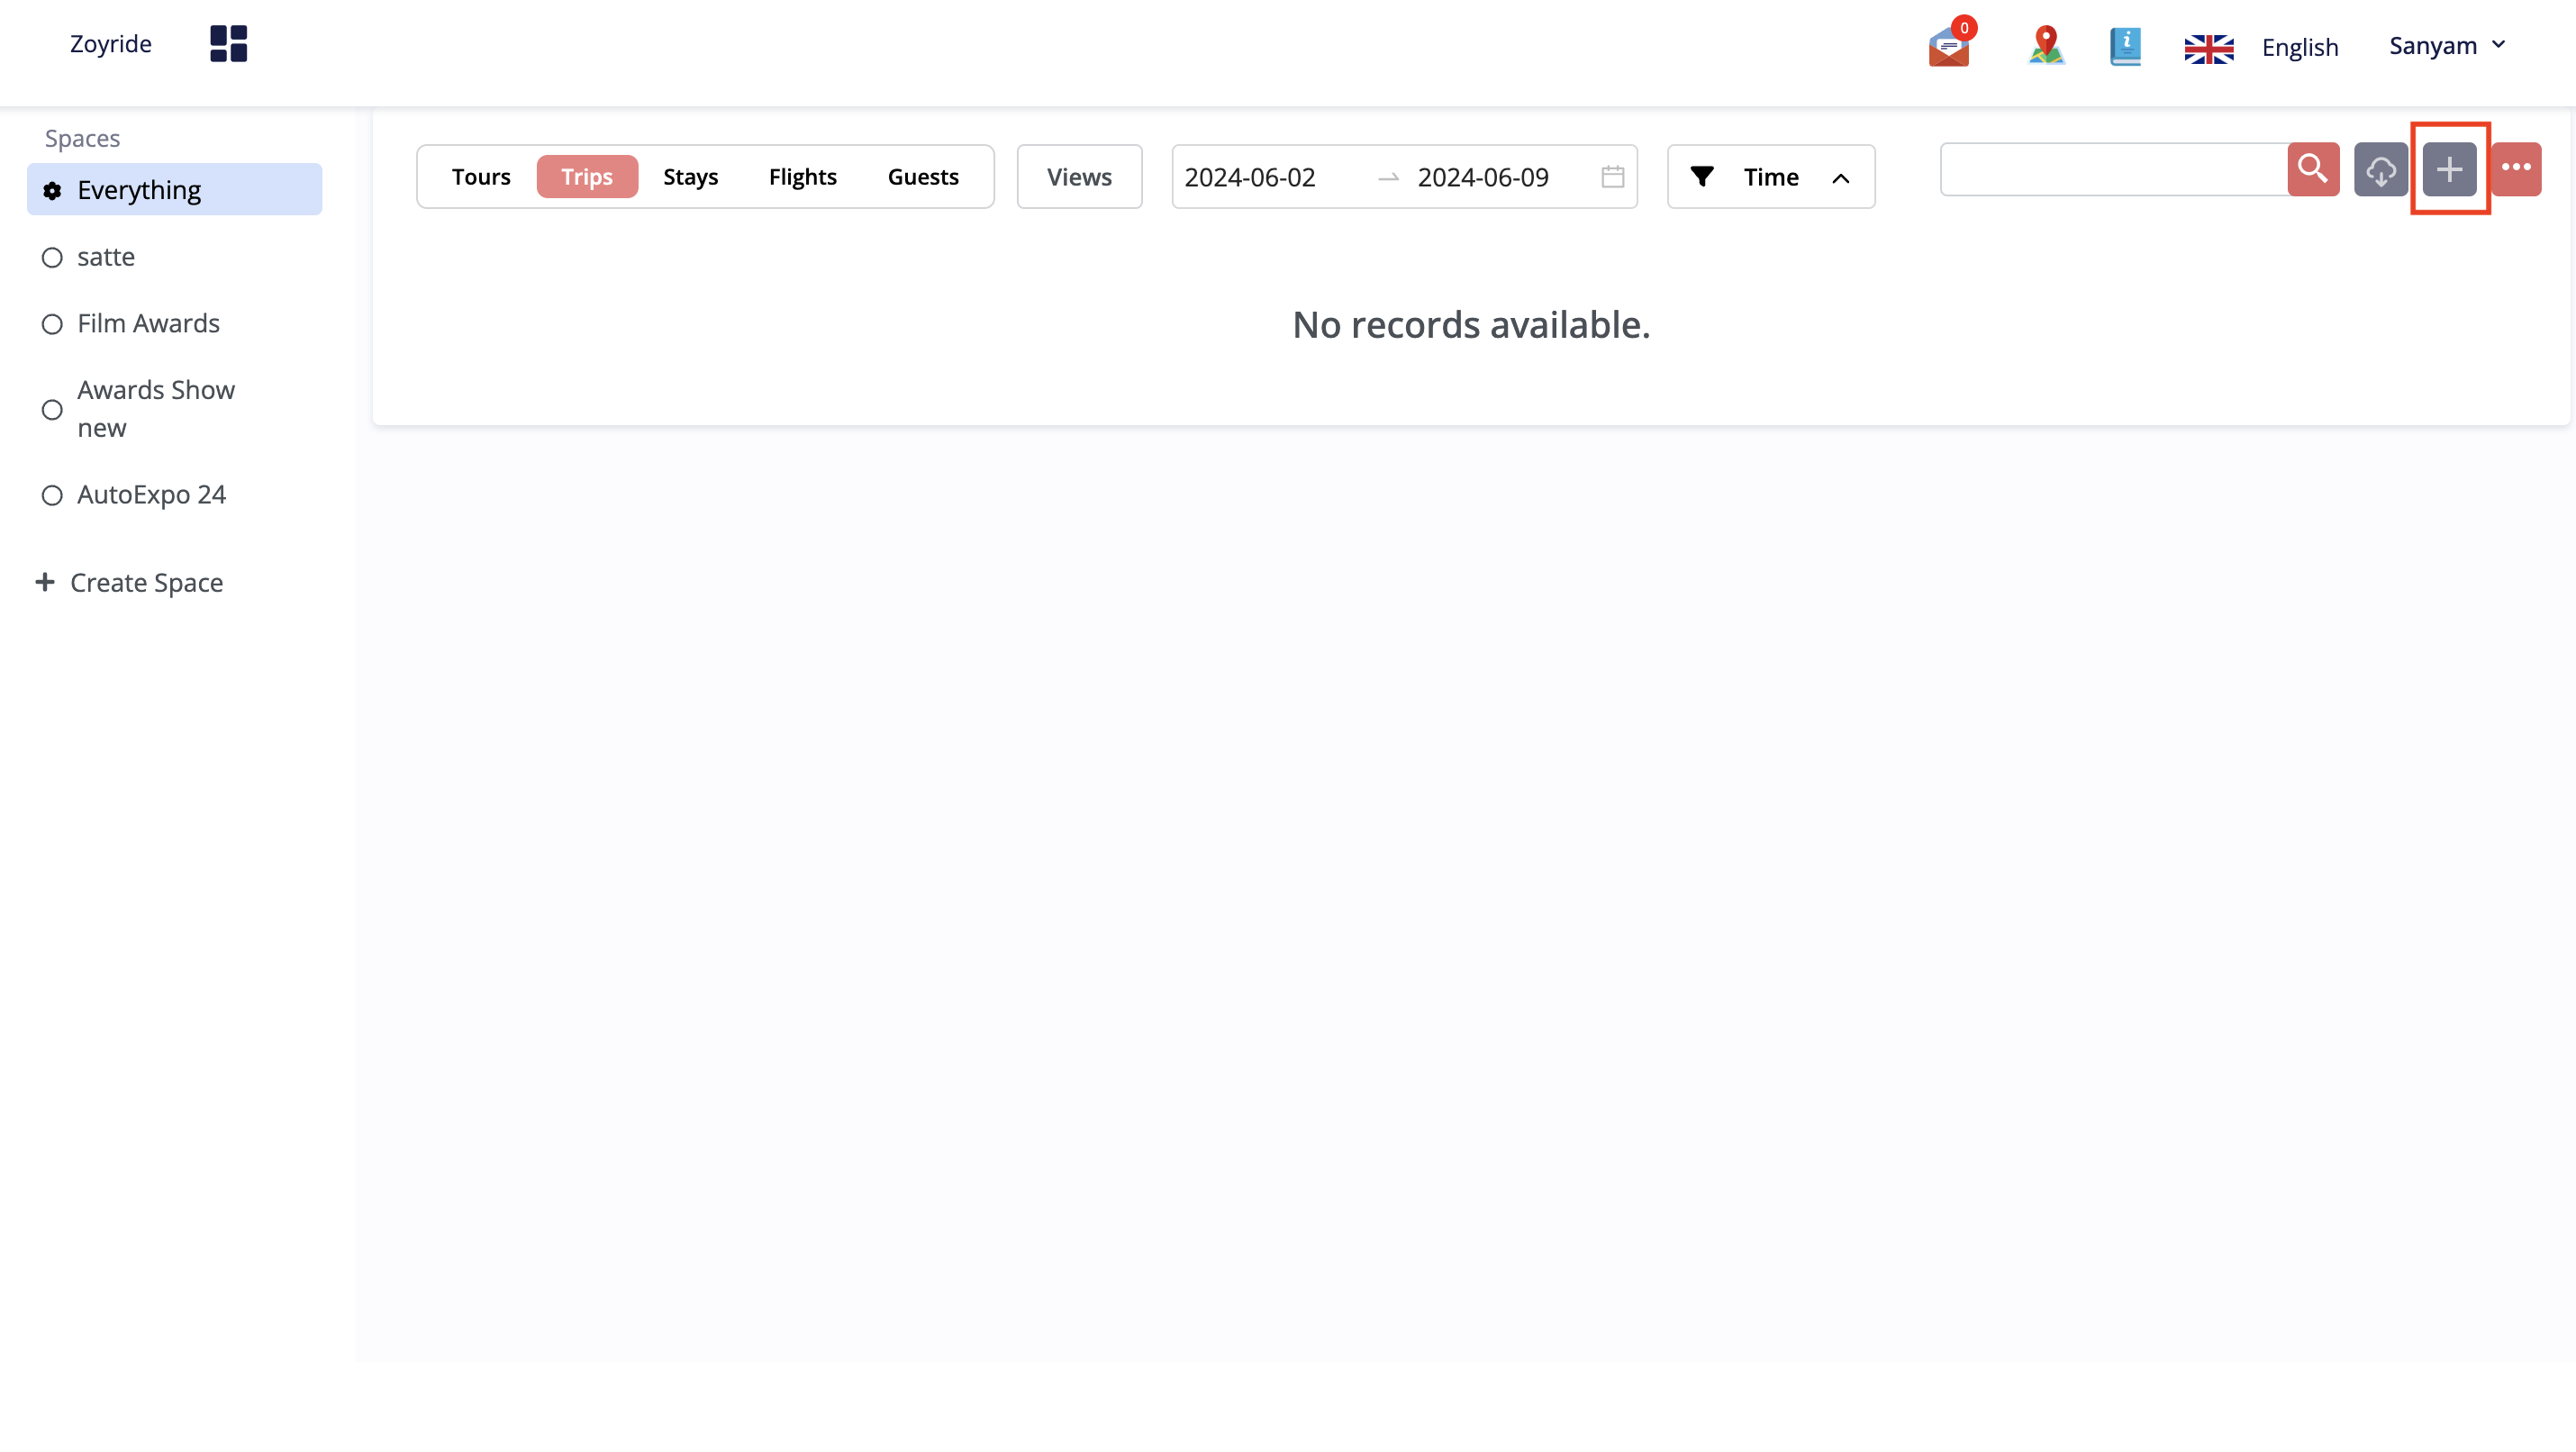
- Navigate to the 'Trips' tab on the Console. This section is dedicated to organizing and handling trips for guests, ensuring a seamless and efficient travel experience.
- Click on the "Add Trip" button to initiate the process of creating a new trip for a guest.

-
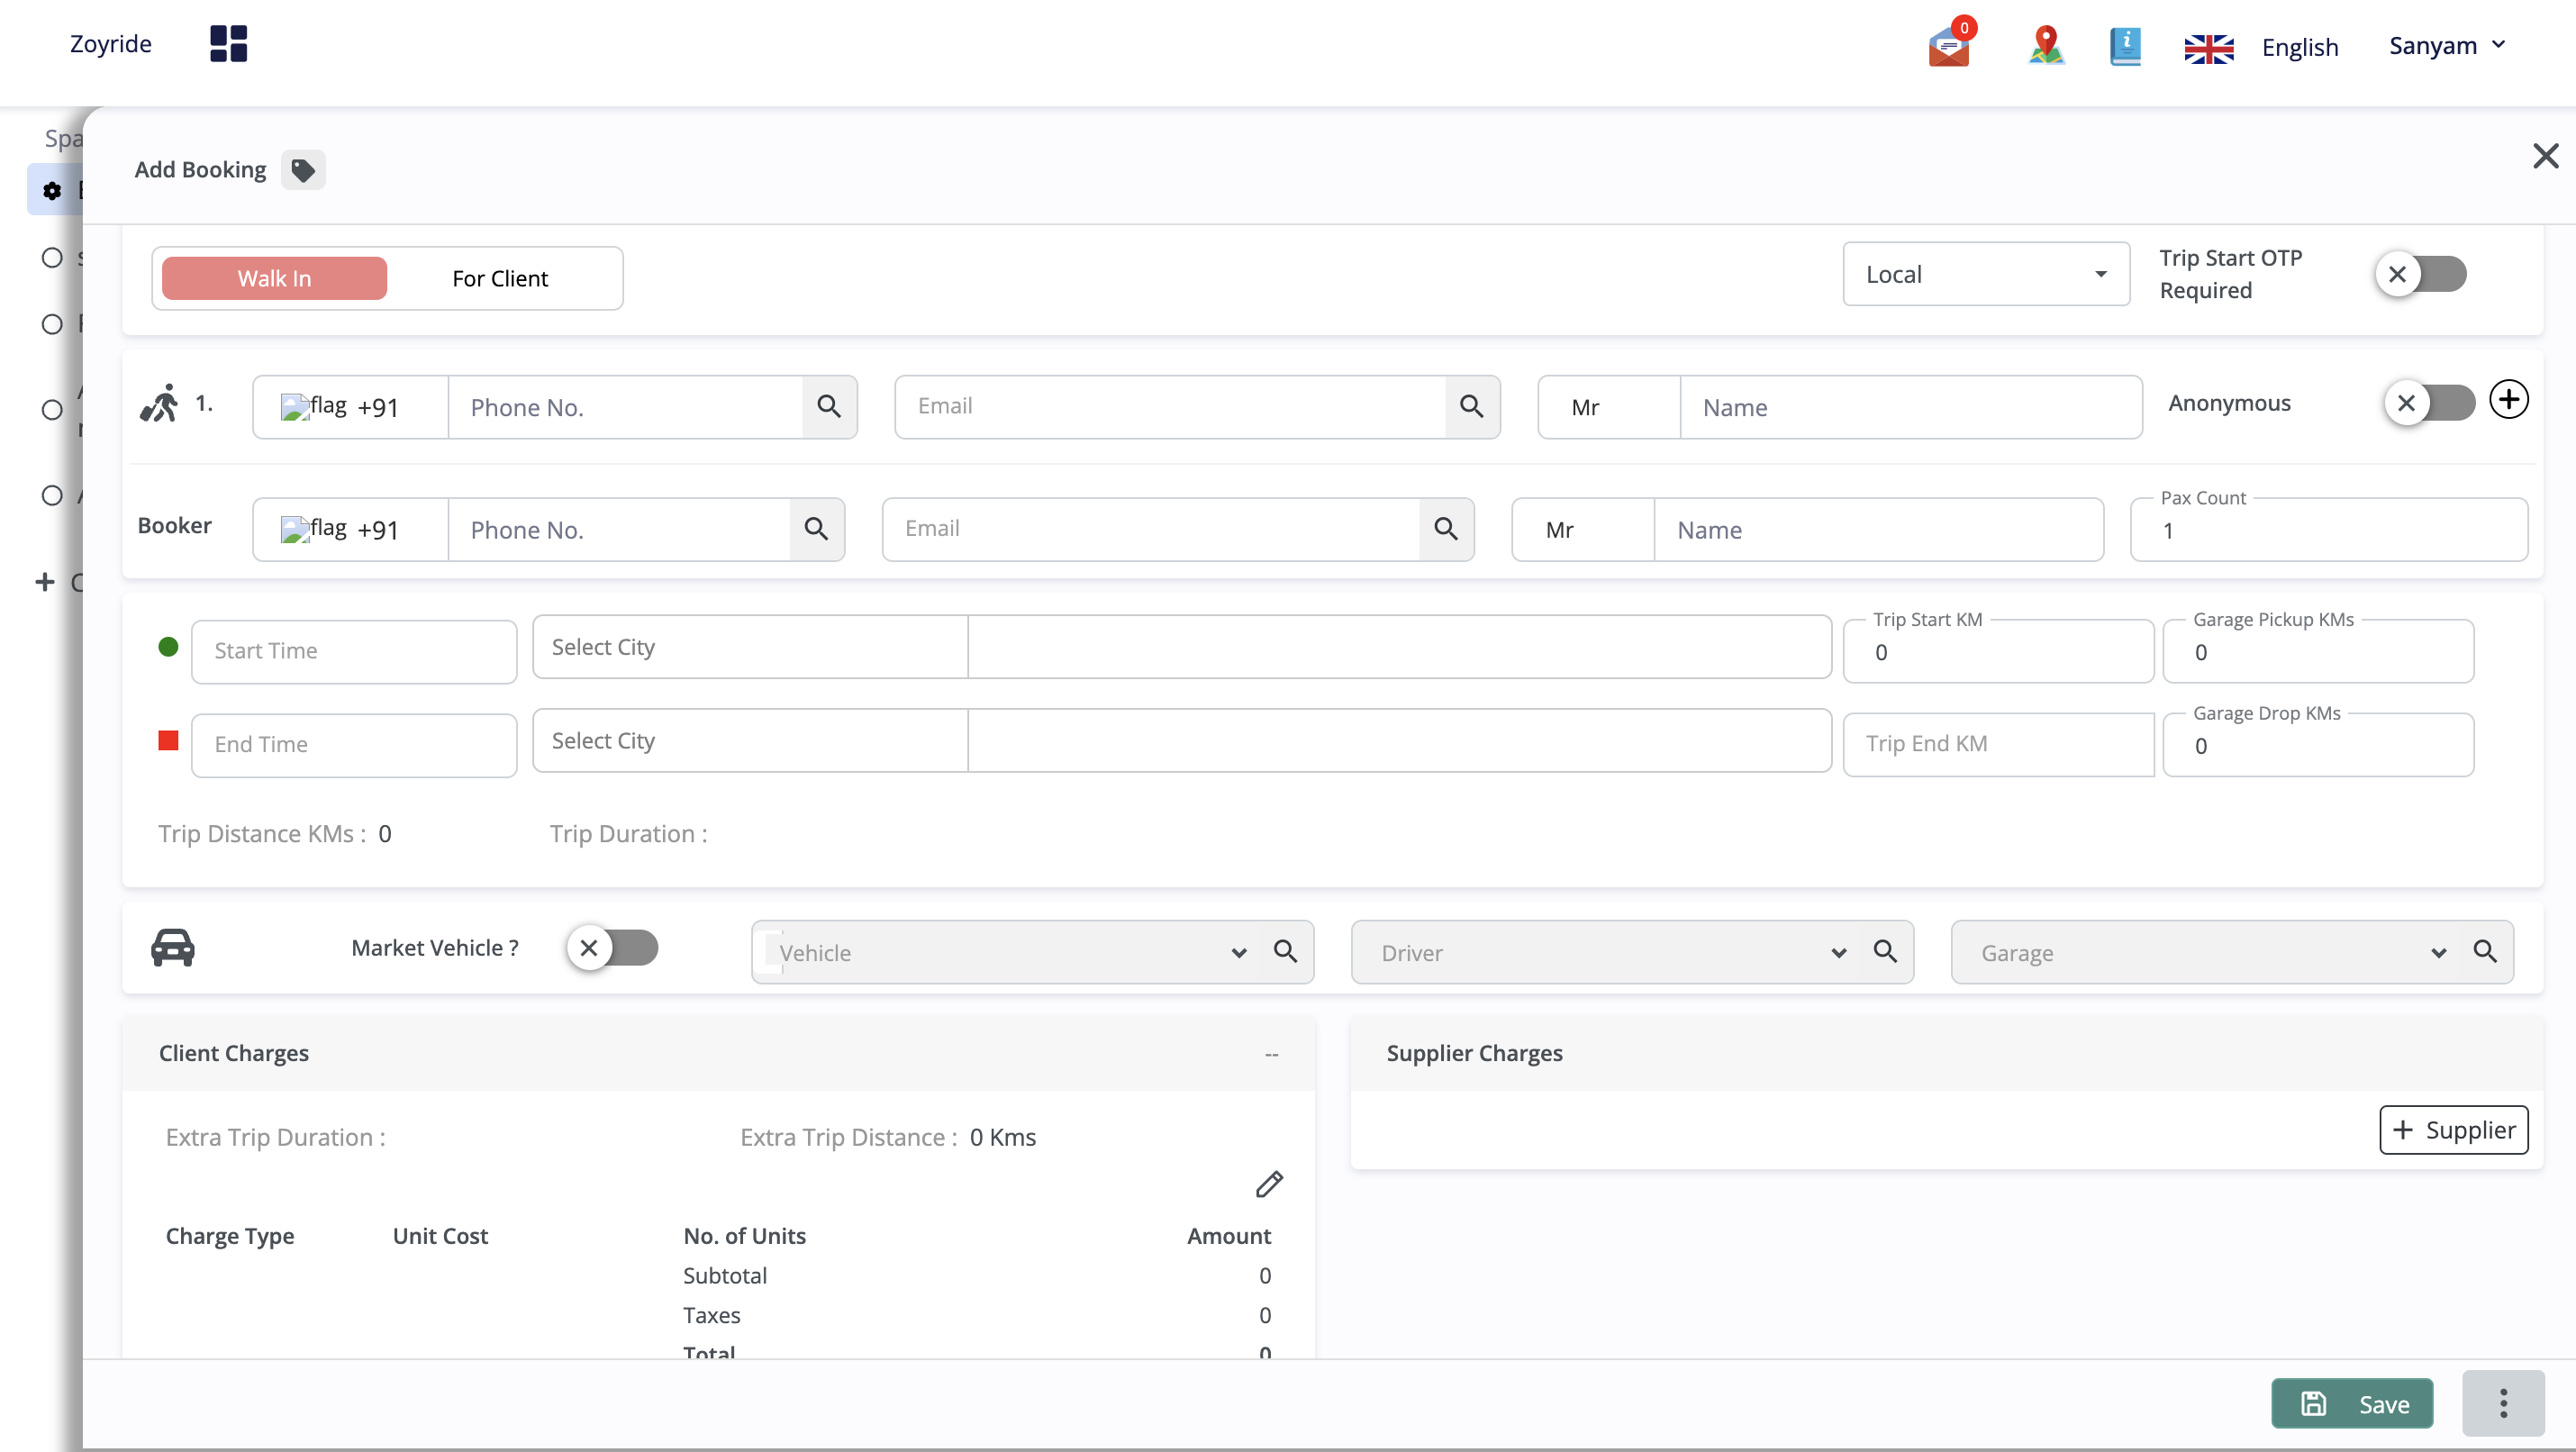
In the form that appears, fill in the necessary data to accurately plan and manage the trip:
- Destination: Enter the destination of the trip to help in planning routes and accommodations.
- Guest Name: Provide the name of the guest who will be traveling, to personalize the trip management.
- Trip Dates: Select the start and end dates for the trip to schedule accommodations, transportation, and other arrangements.
- Status: Set the initial status of the trip, such as 'Planned', 'Ongoing', or 'Completed', to track the progress of the trip arrangements.
- Priority: Choose the priority level (e.g., Normal, Urgent) to indicate the importance of the trip and prioritize planning efforts accordingly.
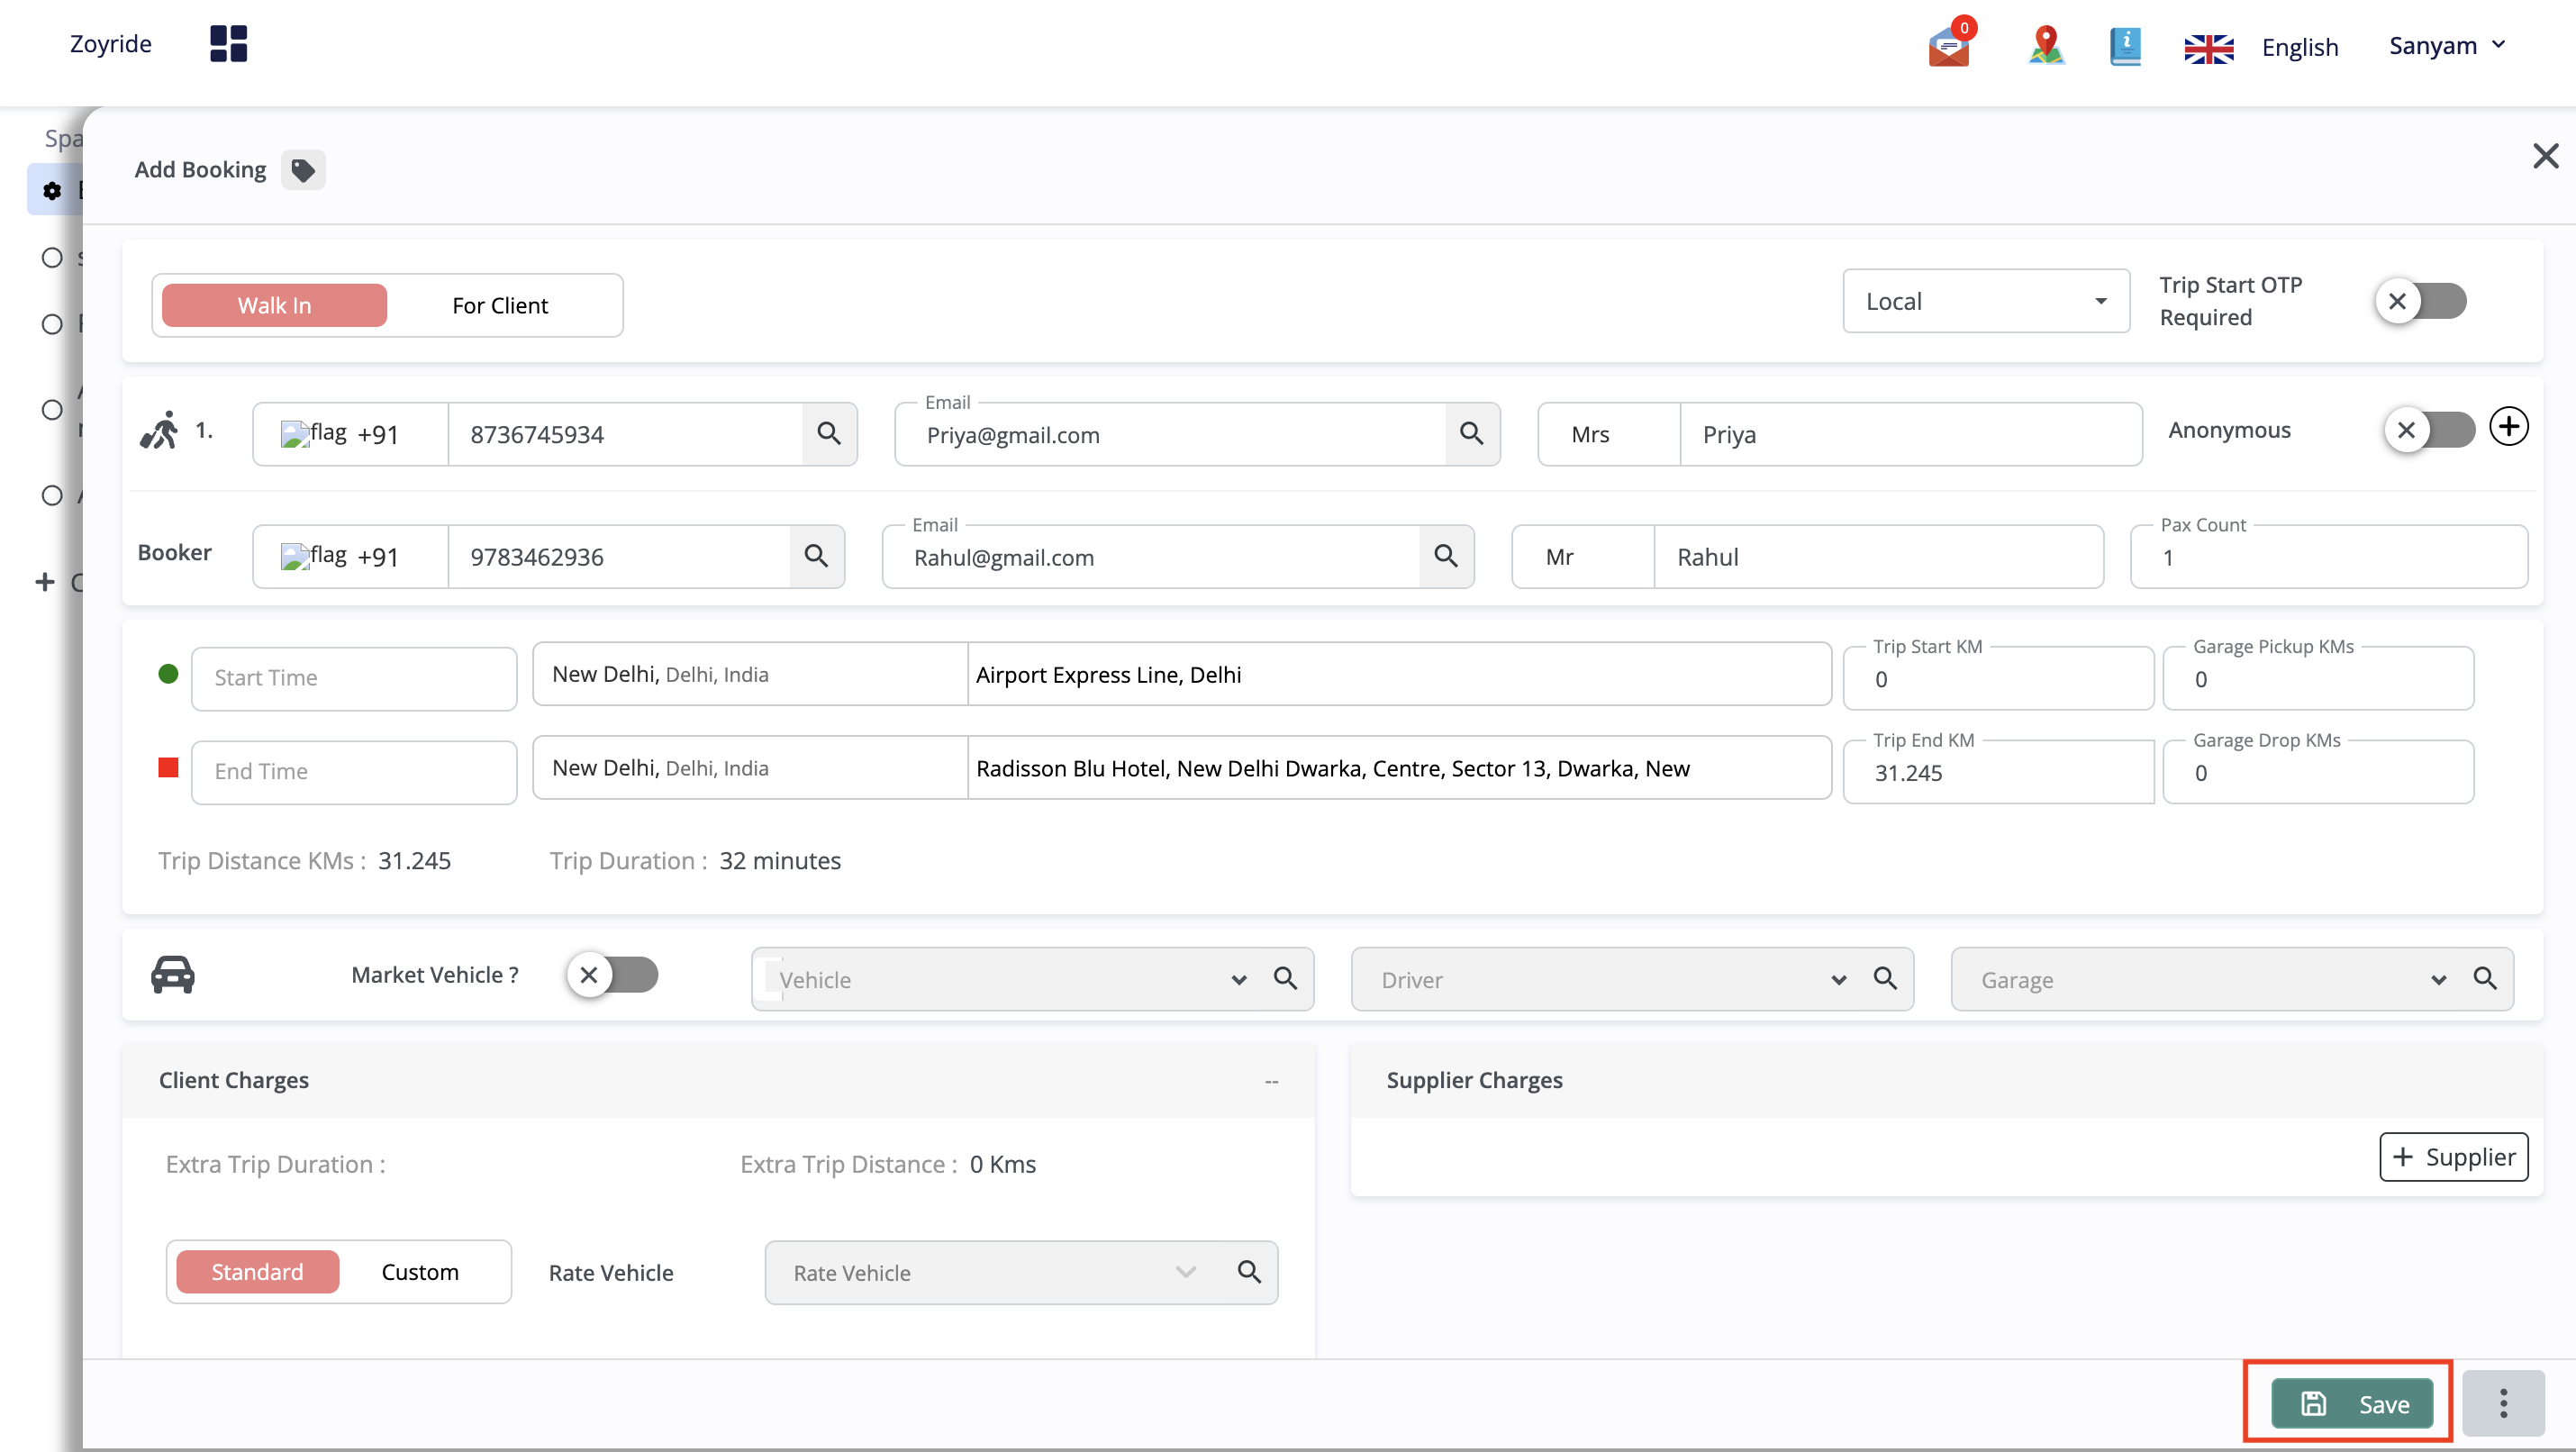
- Details: Enter detailed information about the trip, including itinerary, special requests, and any other relevant information that will assist in providing a tailored travel experience for the guest.

- Once all the details are entered, click the "Save" button to finalize and record the trip details in the system.
