Guests
Manage your guests:
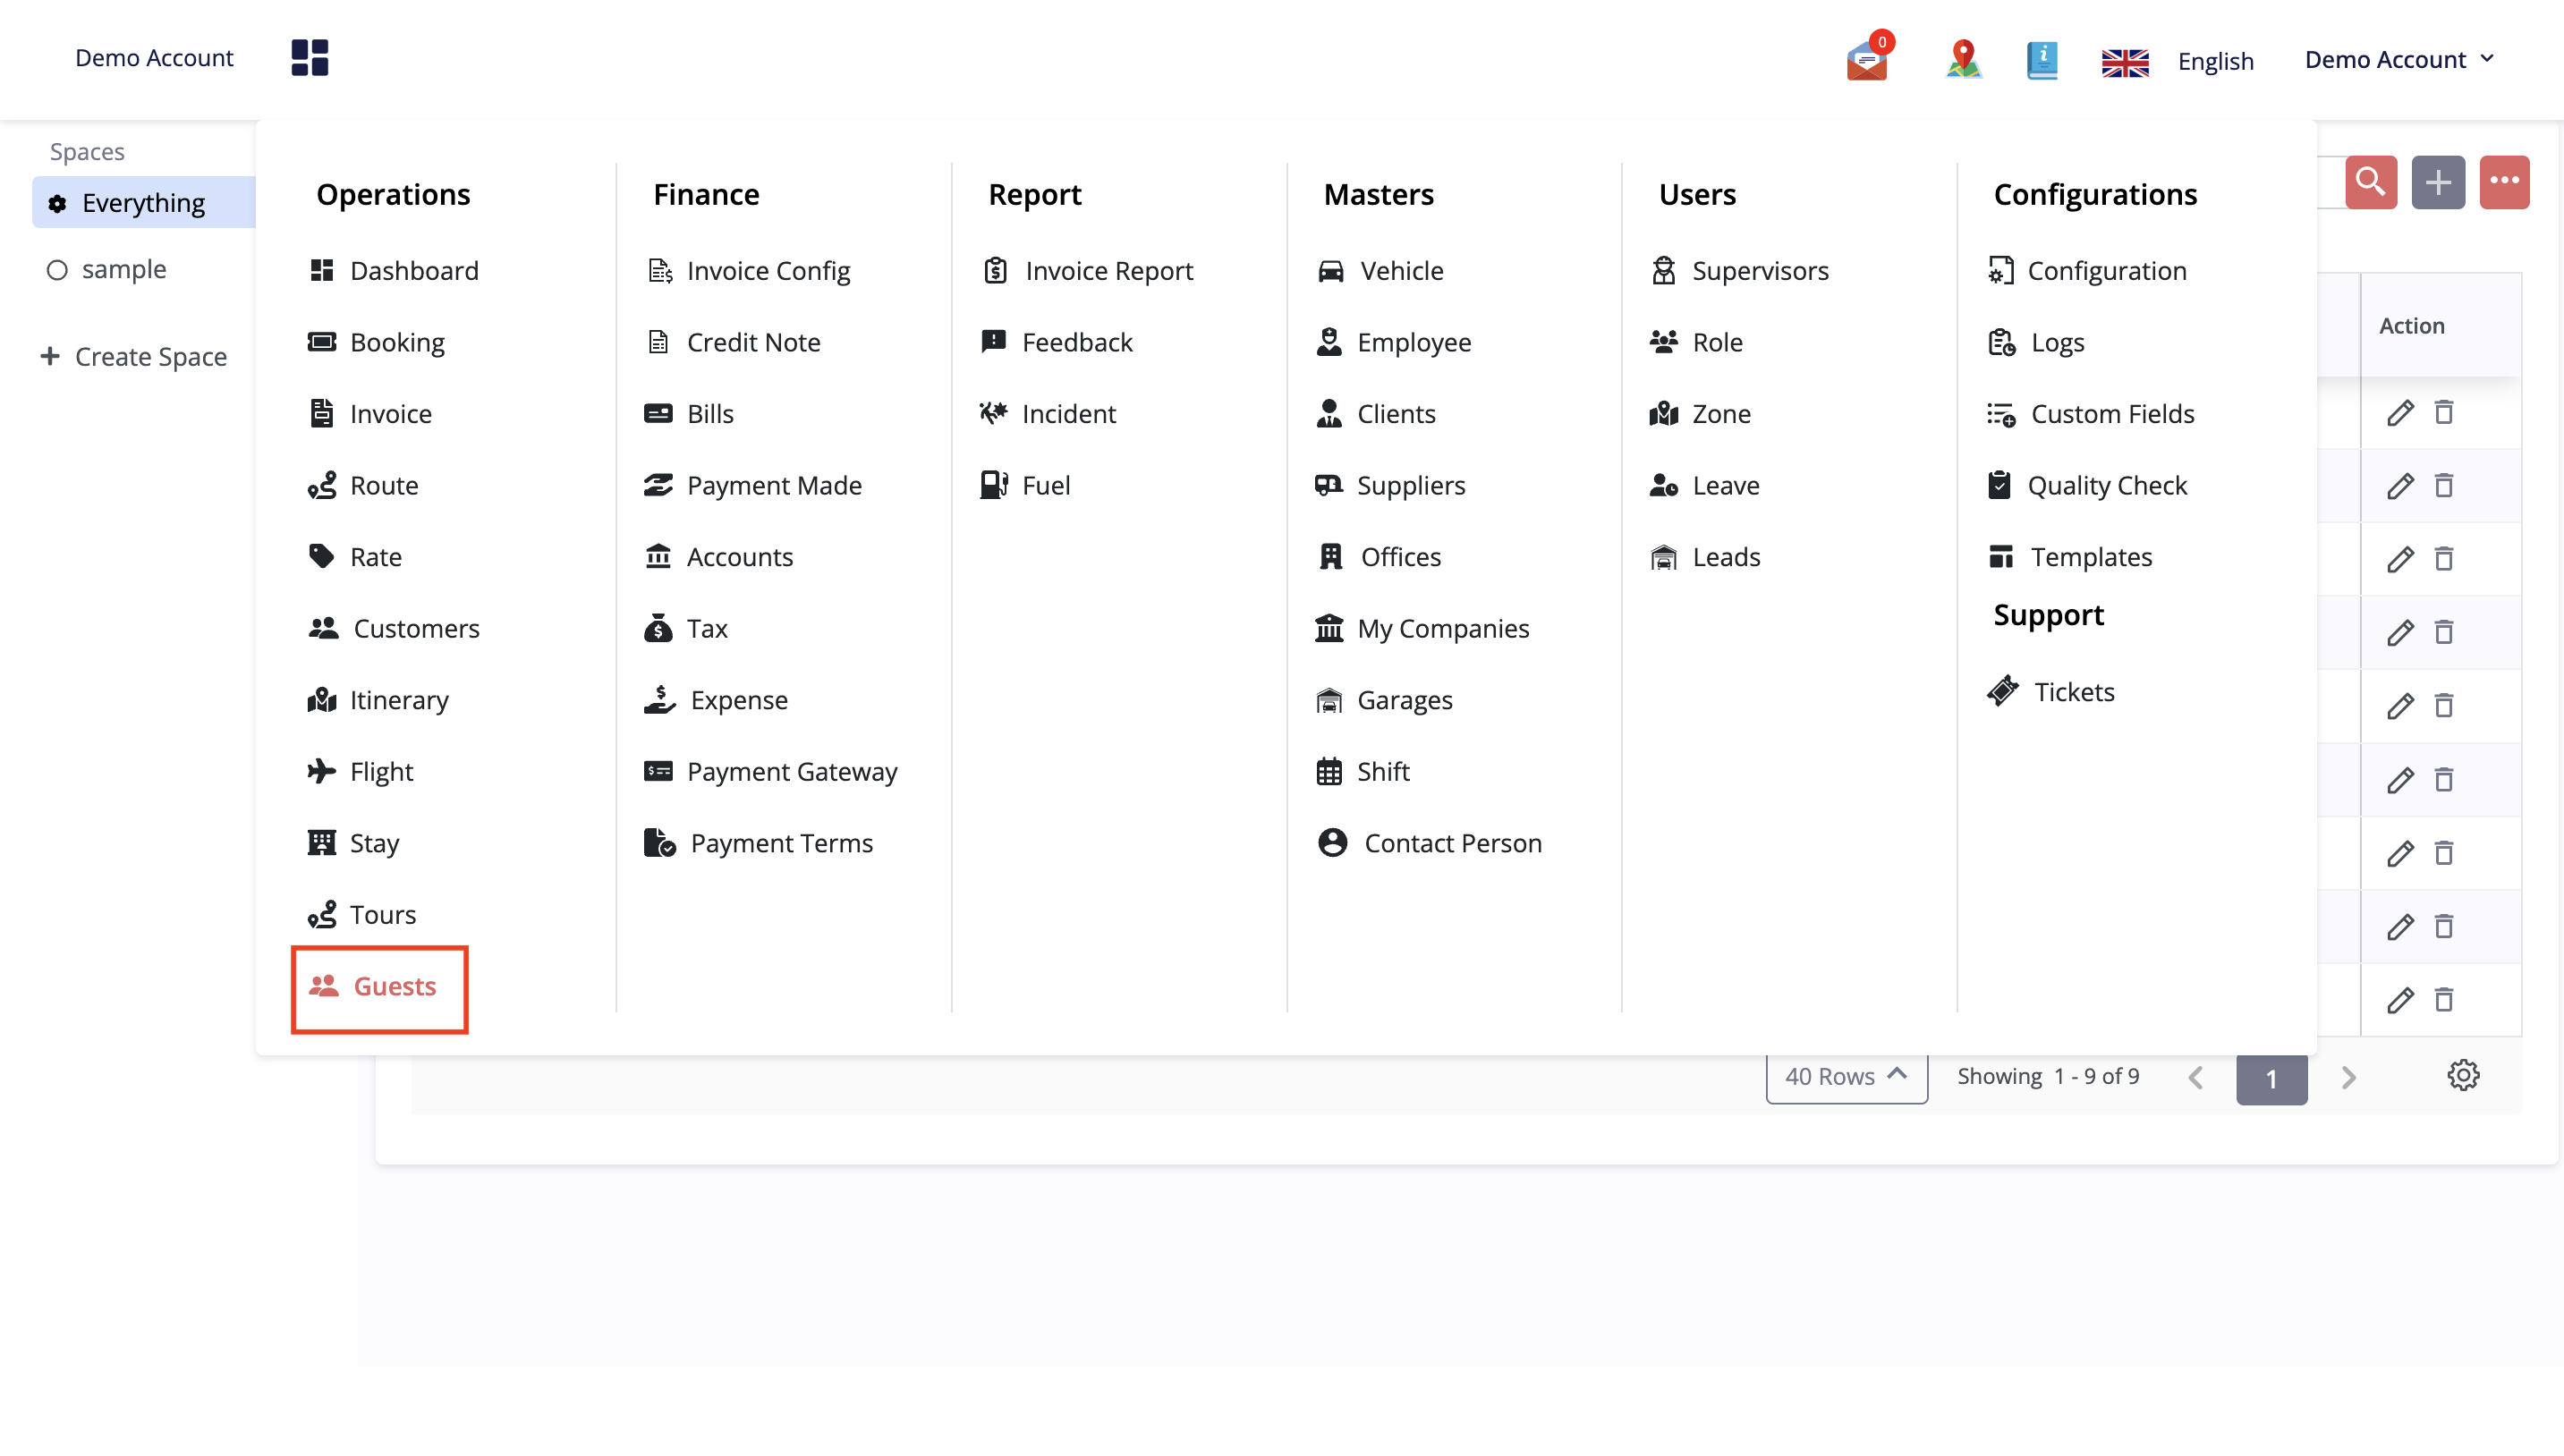
Navigate to the 'Guests' tab.
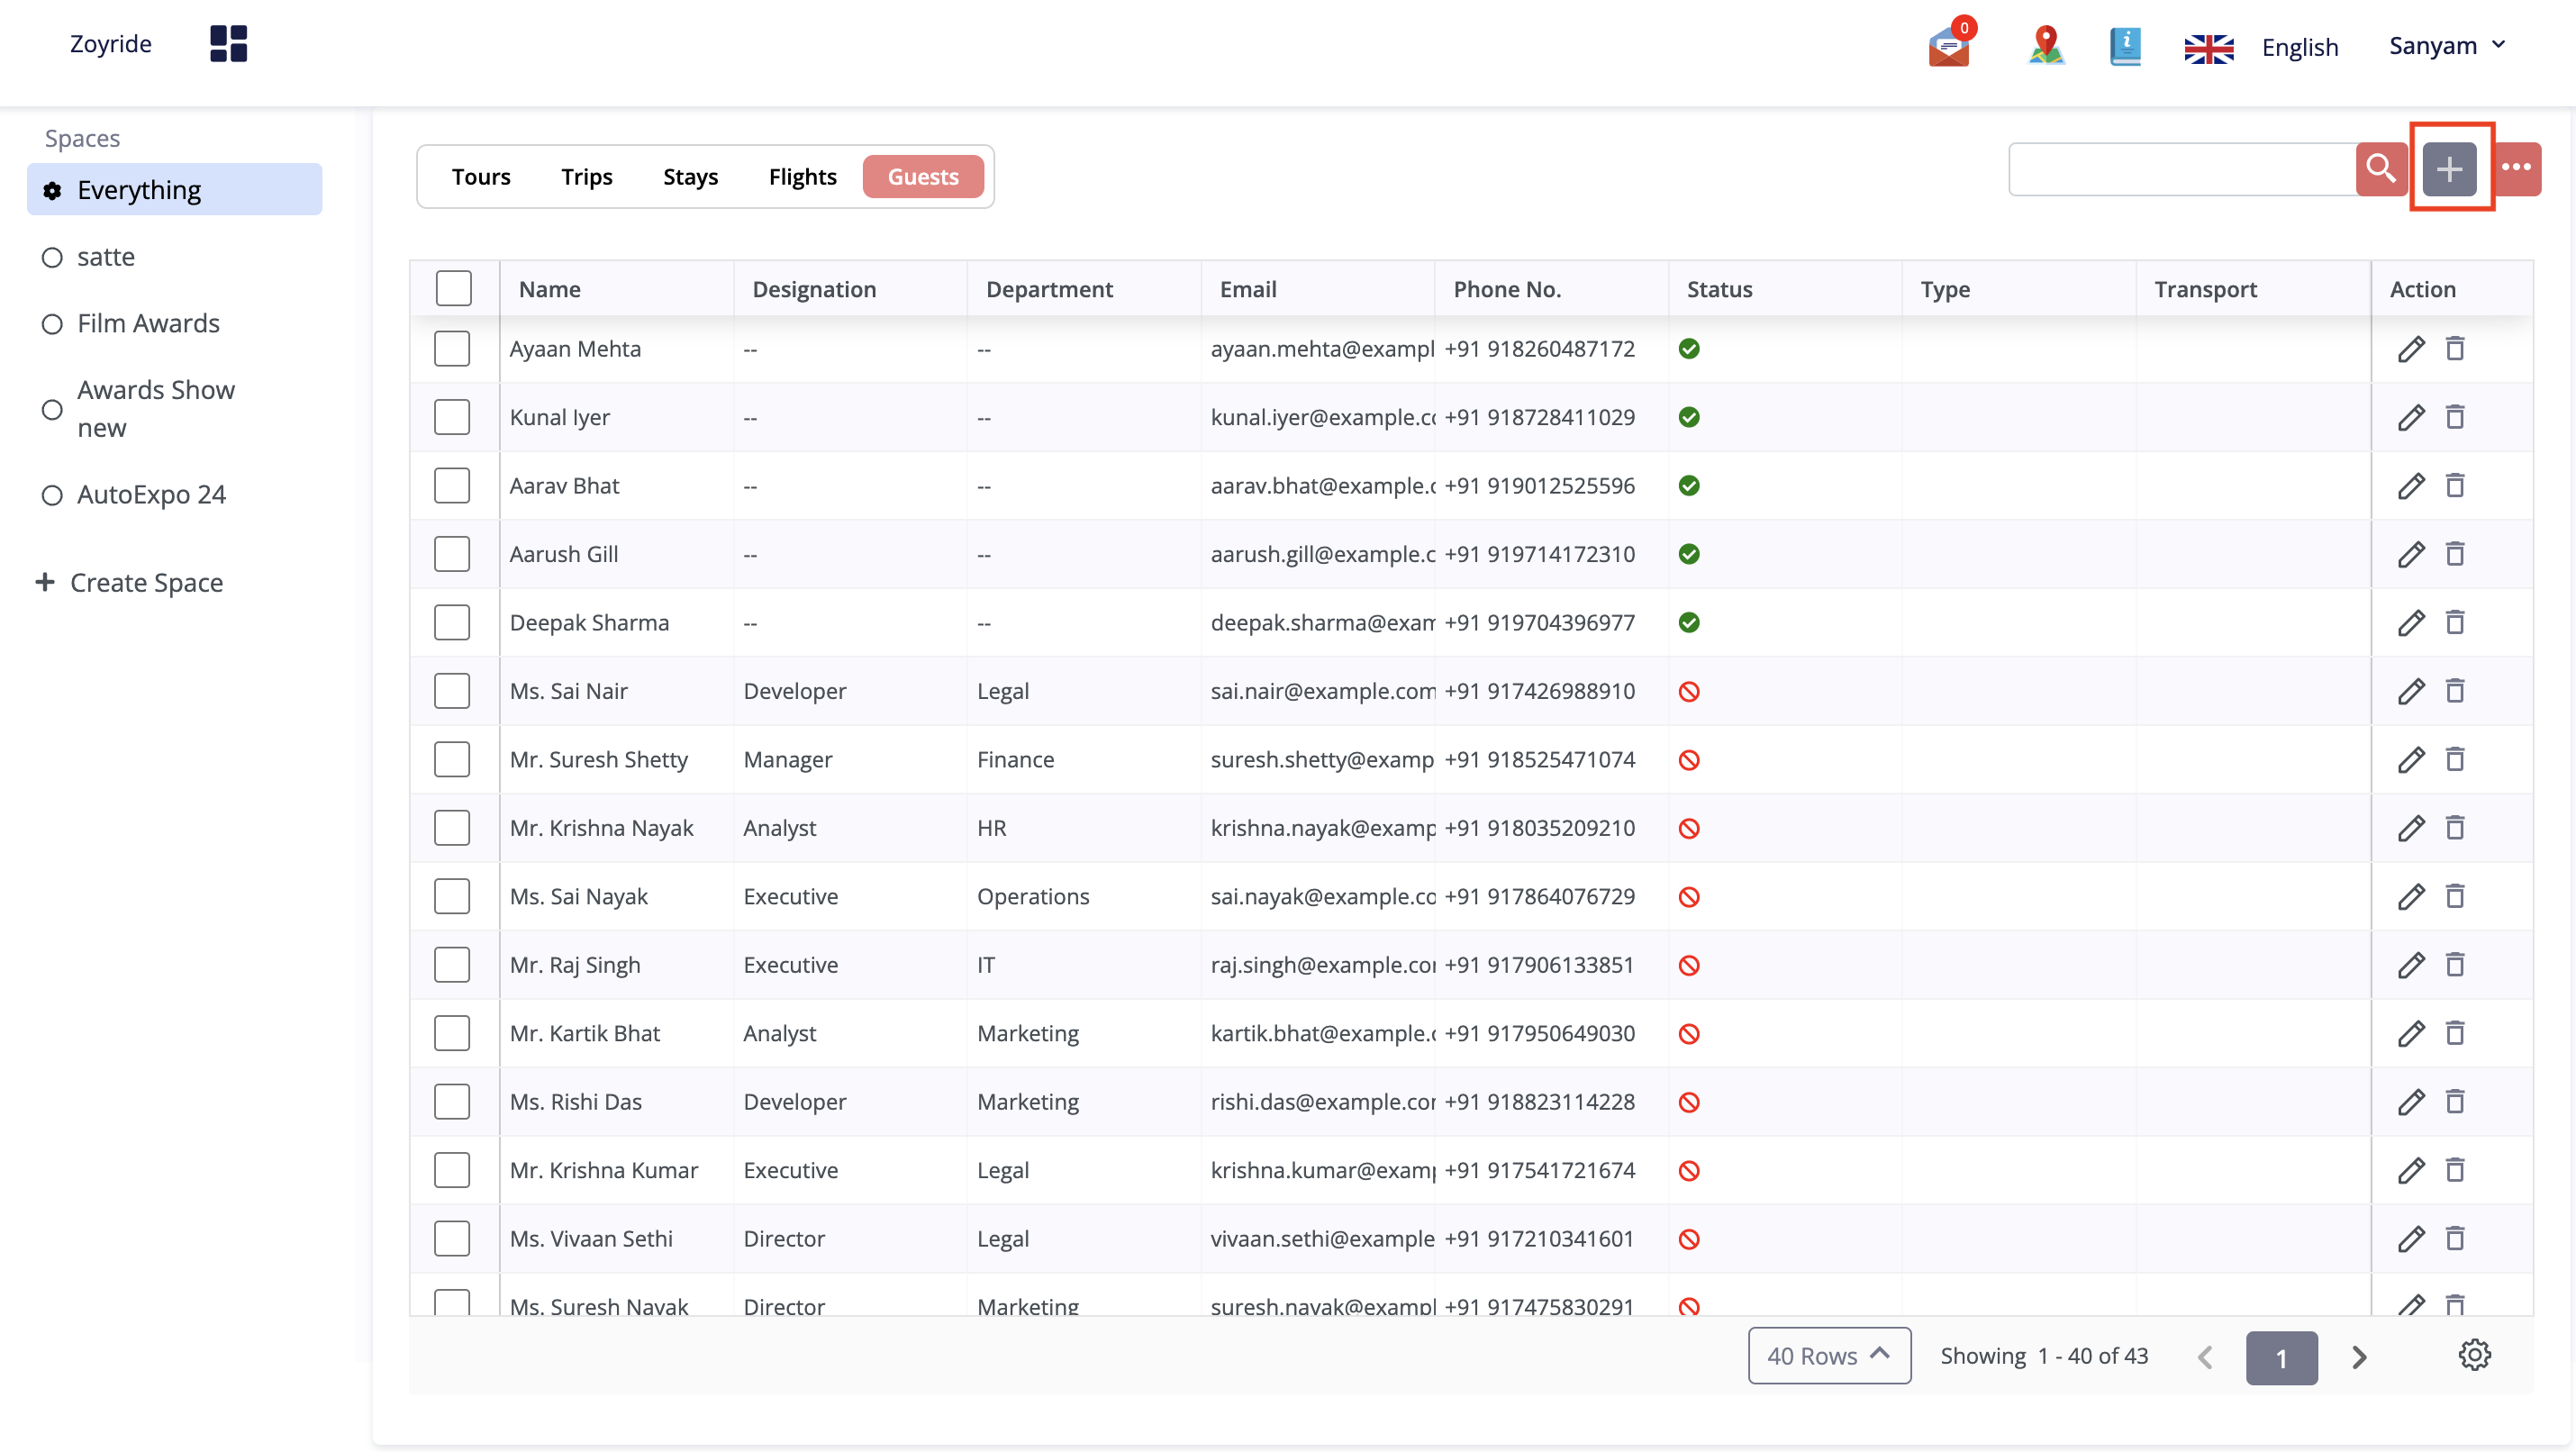
Click on the "Add Guest" button.
In the form that appears, fill in the necessary data to accurately create and manage the guest profile:
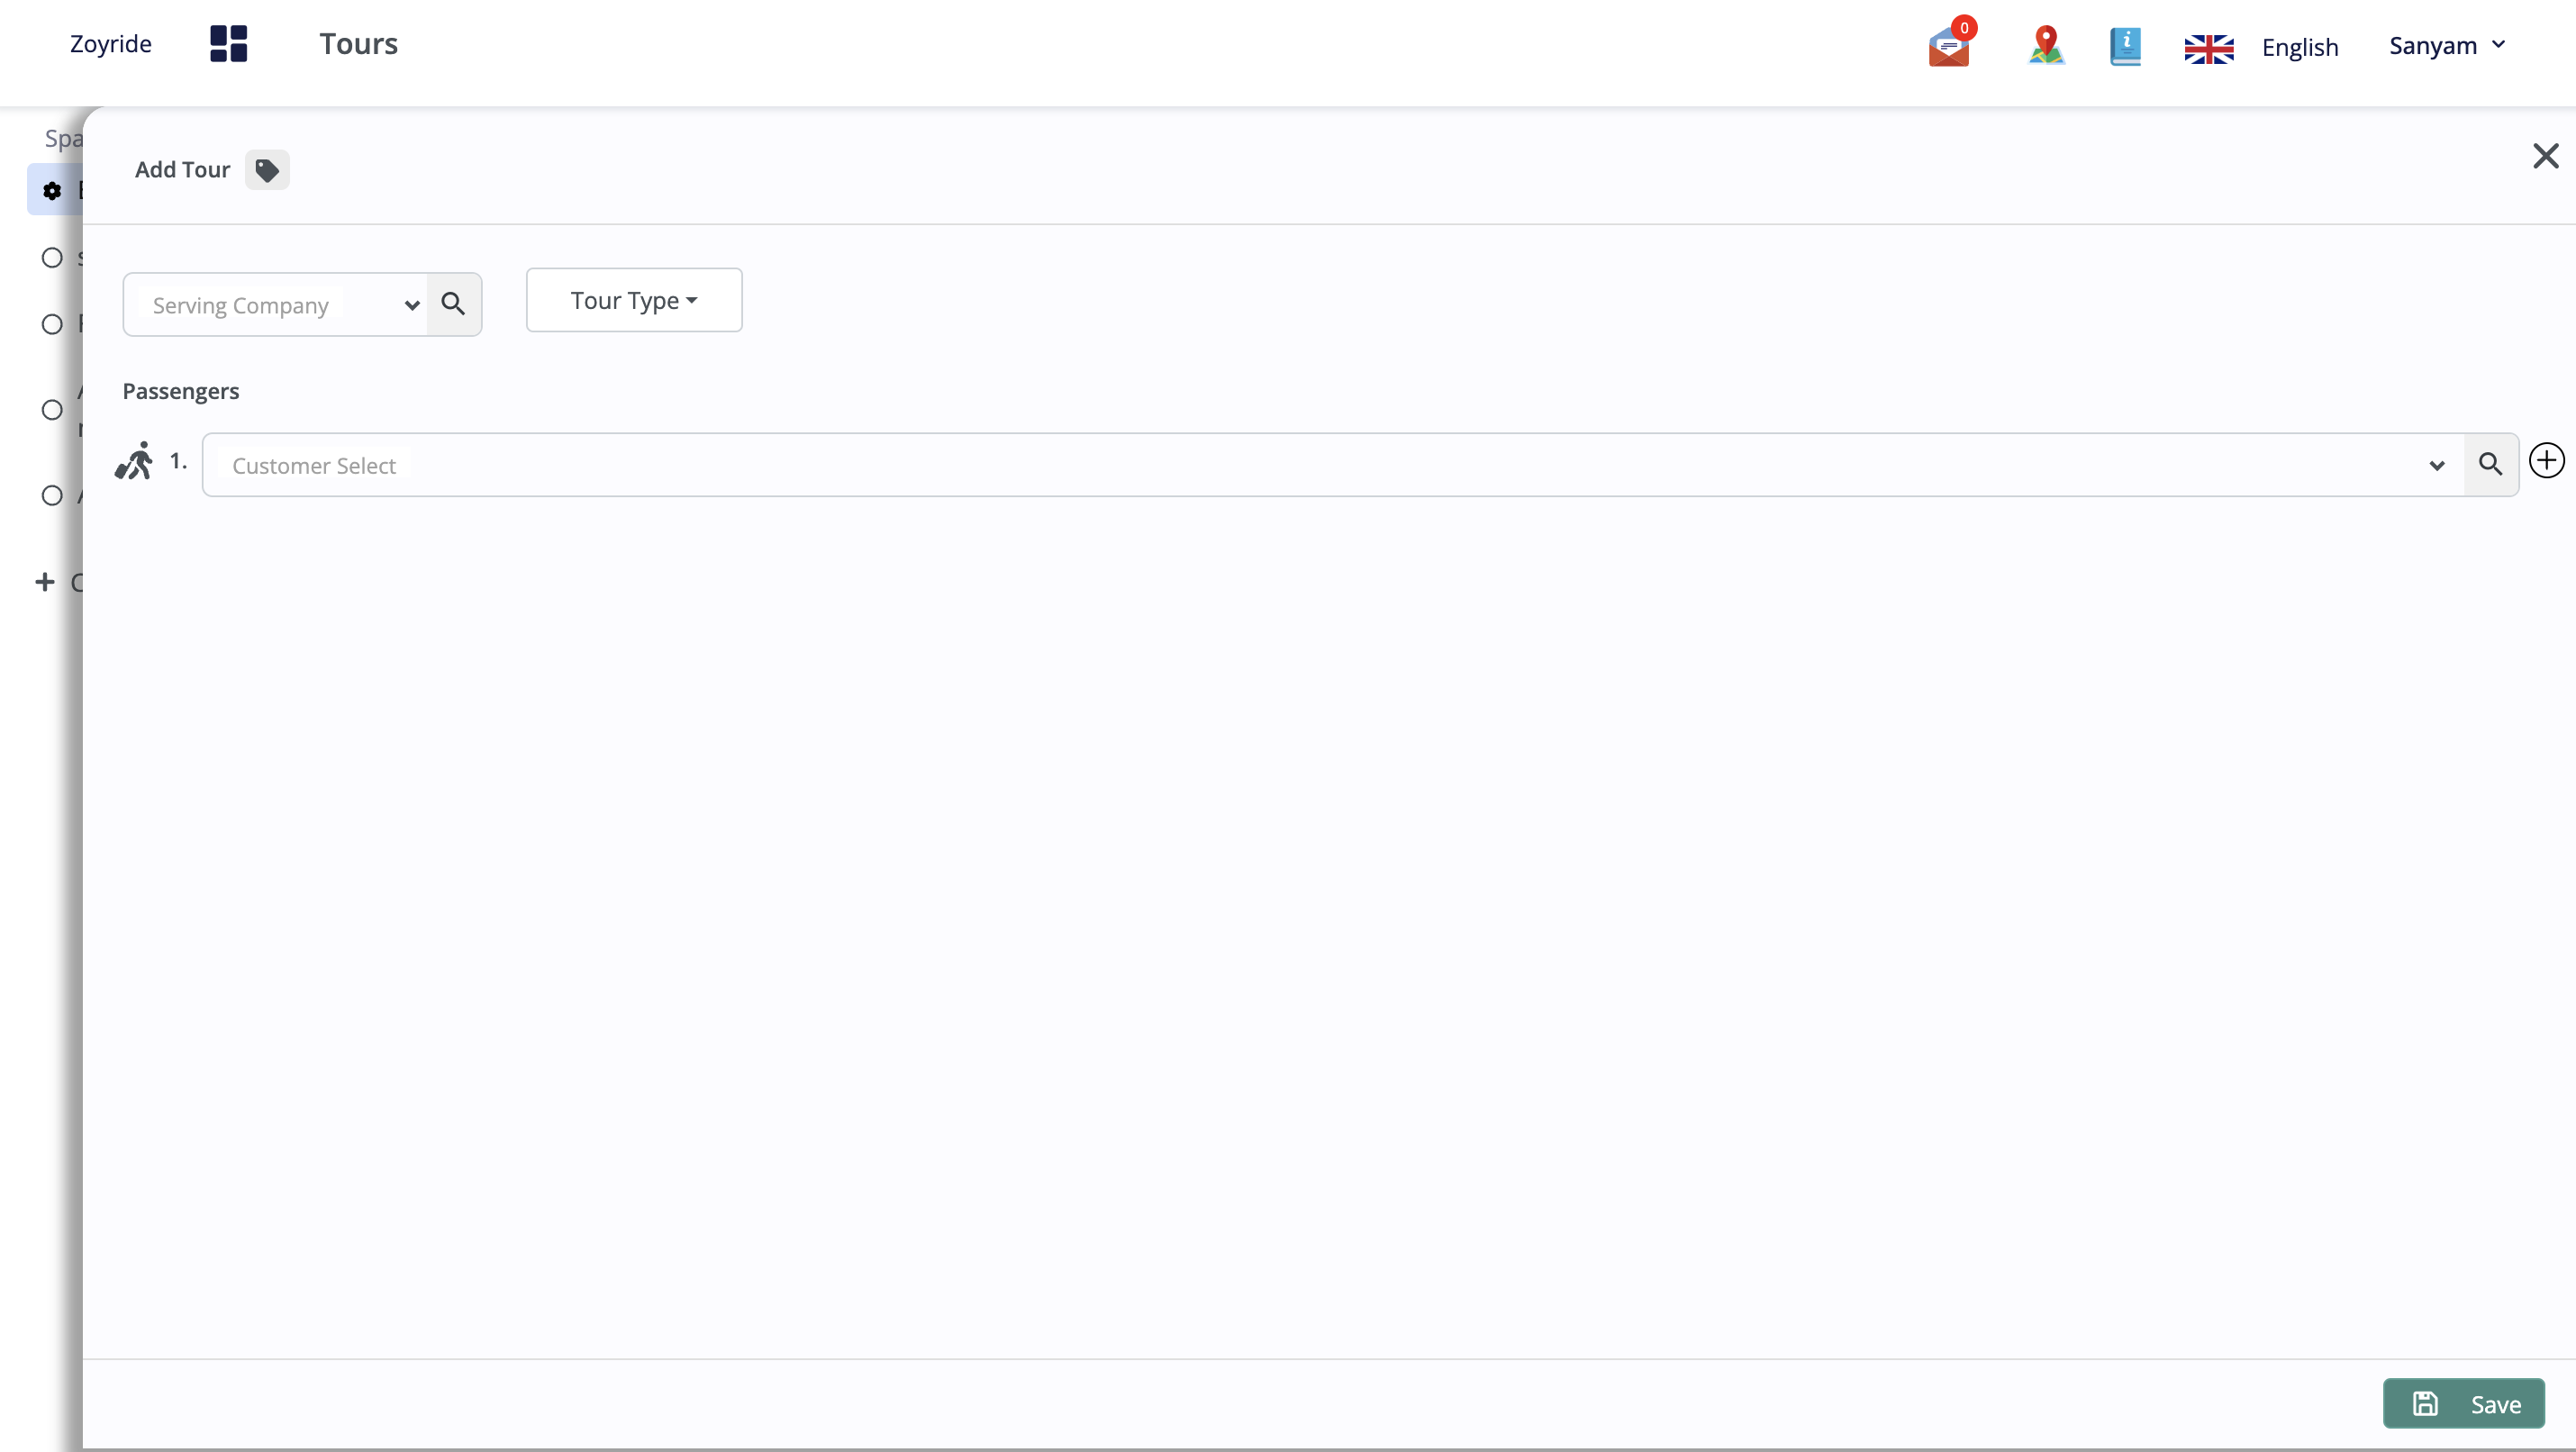
- Type: Choose the type of guest (e.g., VIP, Regular, First-time) to tailor the experience and services offered.
- Name: Enter the full name of the guest to maintain personalization and record-keeping.
- Contact Info: Provide contact details such as phone number and email address to facilitate communication.
- Status: Set the initial status of the guest profile, such as 'Active', to indicate their current engagement level.
- Details: Enter detailed information about the guest, including any preferences, special requirements, or notes that would help in providing tailored services and experiences.
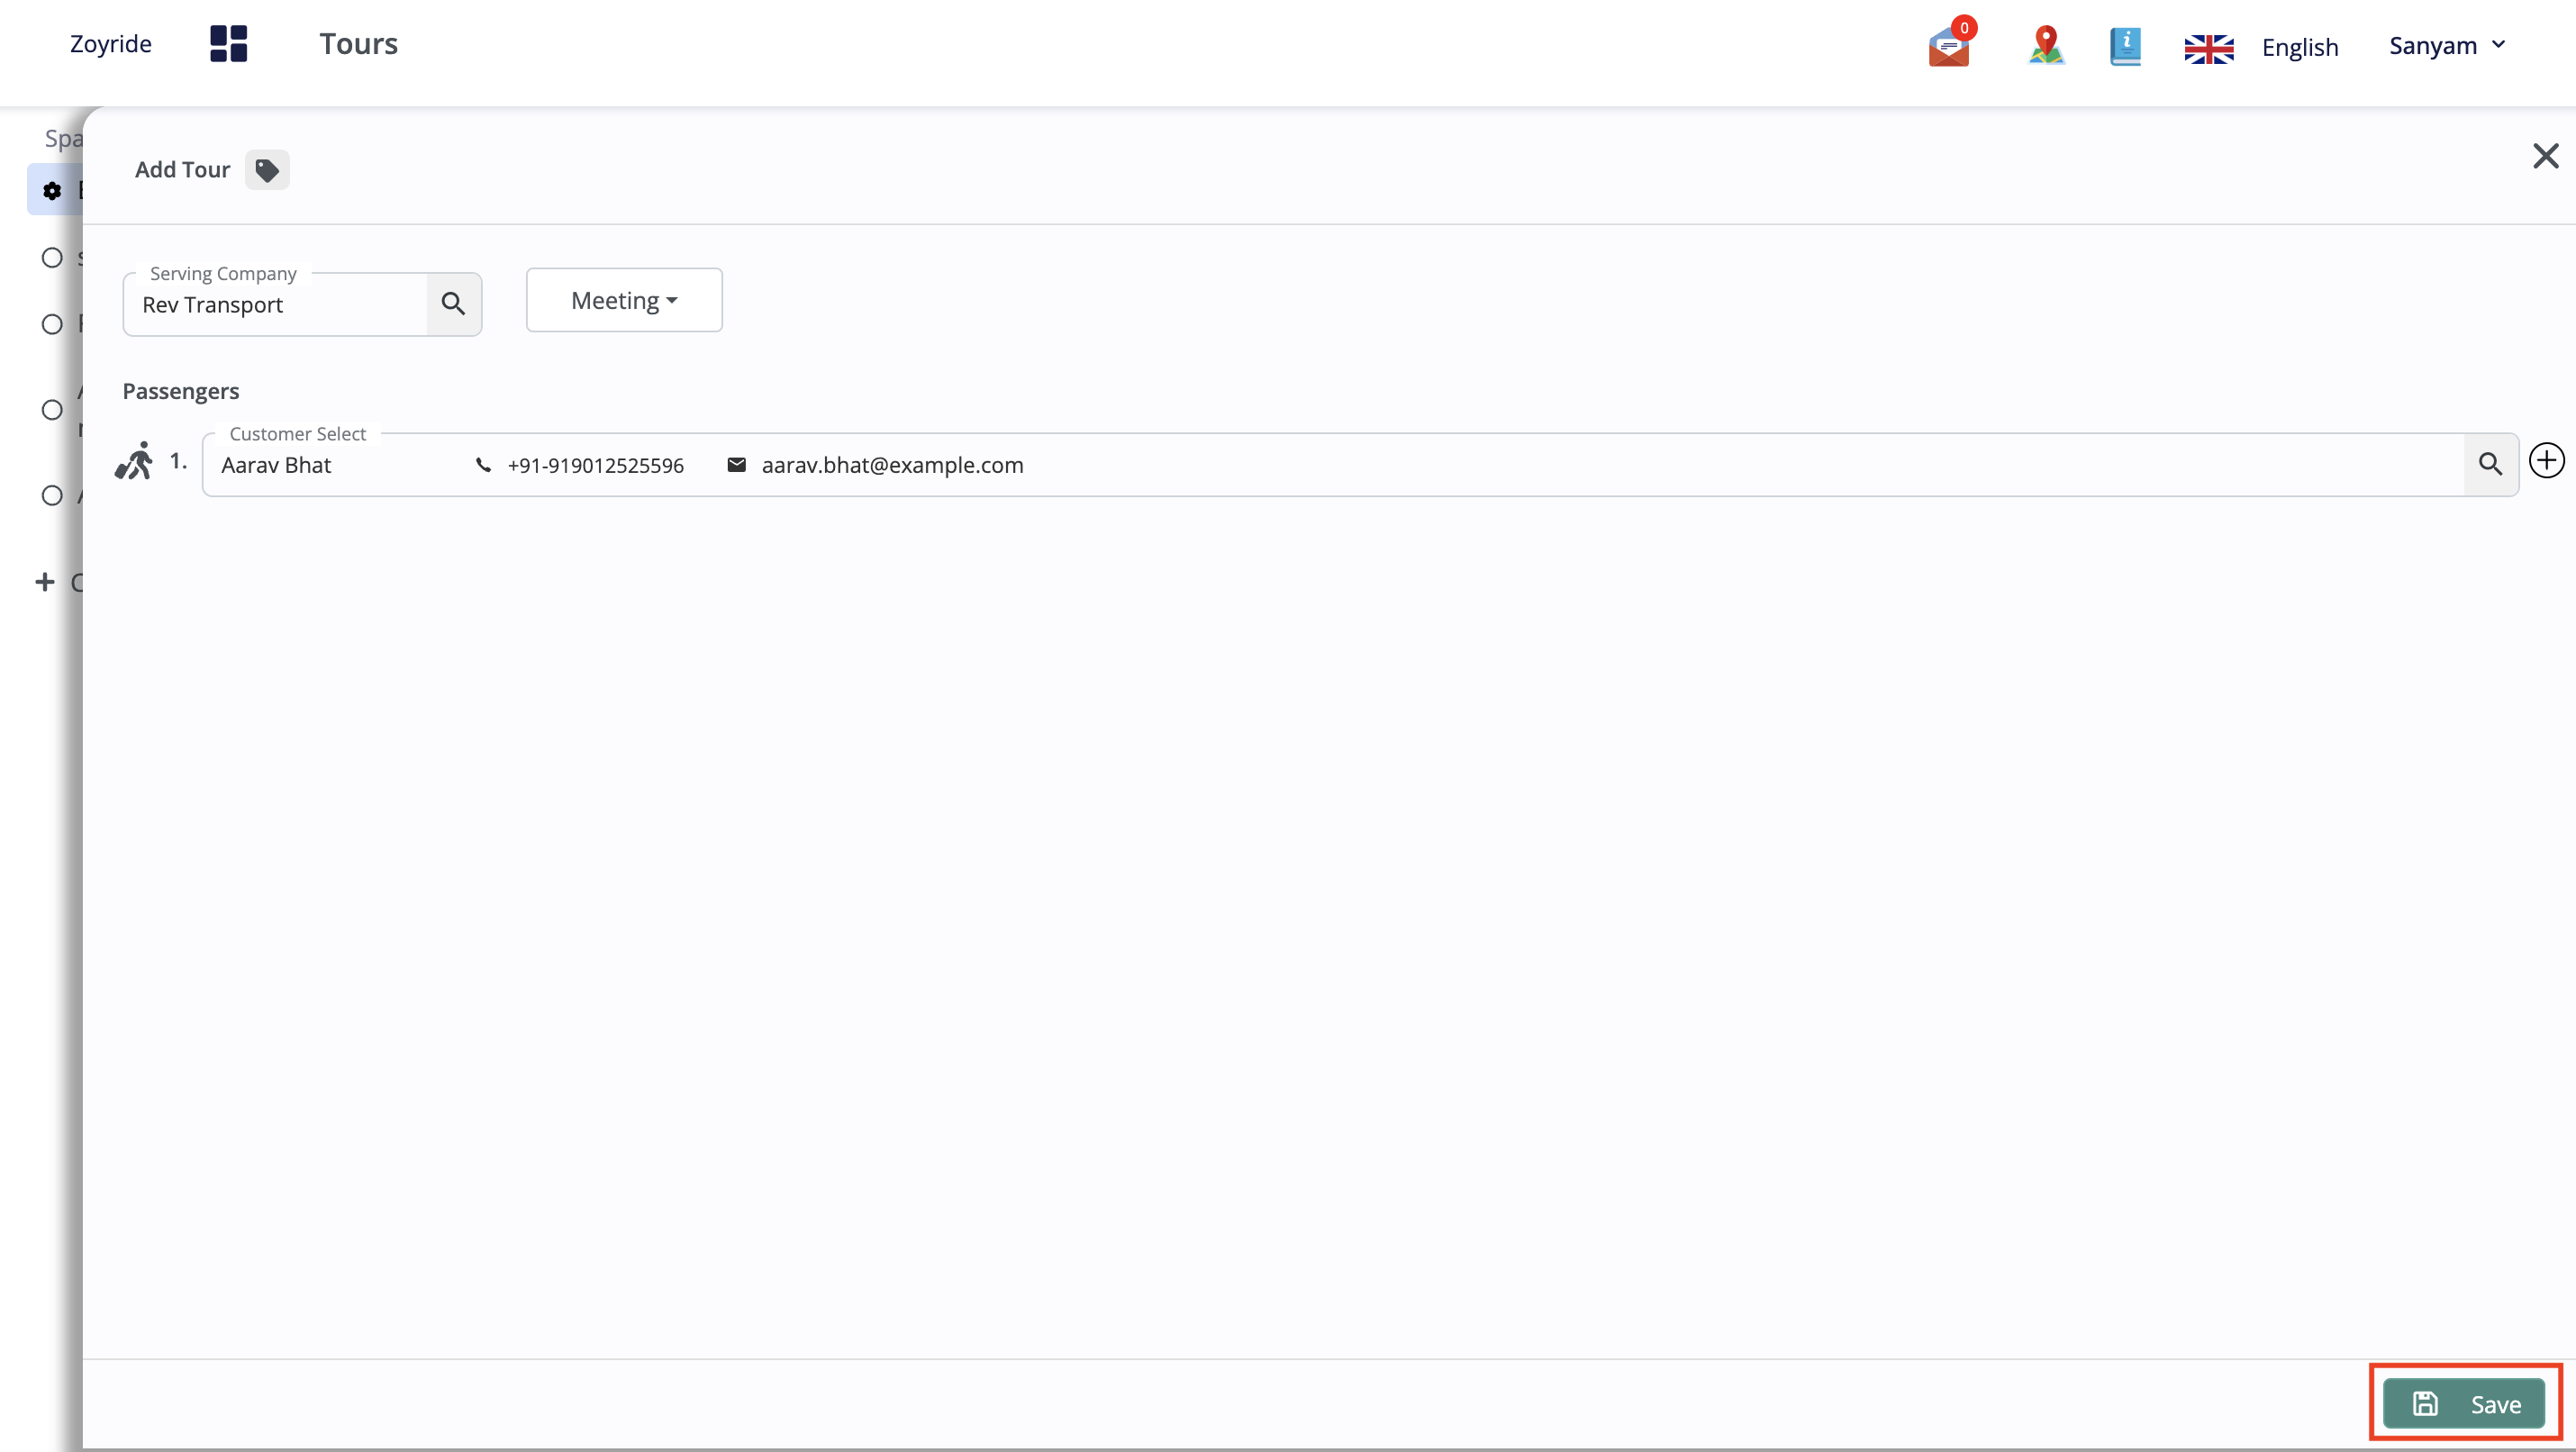
Once all the details are entered, click the "Save" button to finalize and submit the guest profile. This action will store the guest's information in your system and make it available for any future interactions or services they may require.
Edit Guest records
- Click on the Edit Icon: Locate and click on the 'Edit' icon next to the guest information you wish to modify.
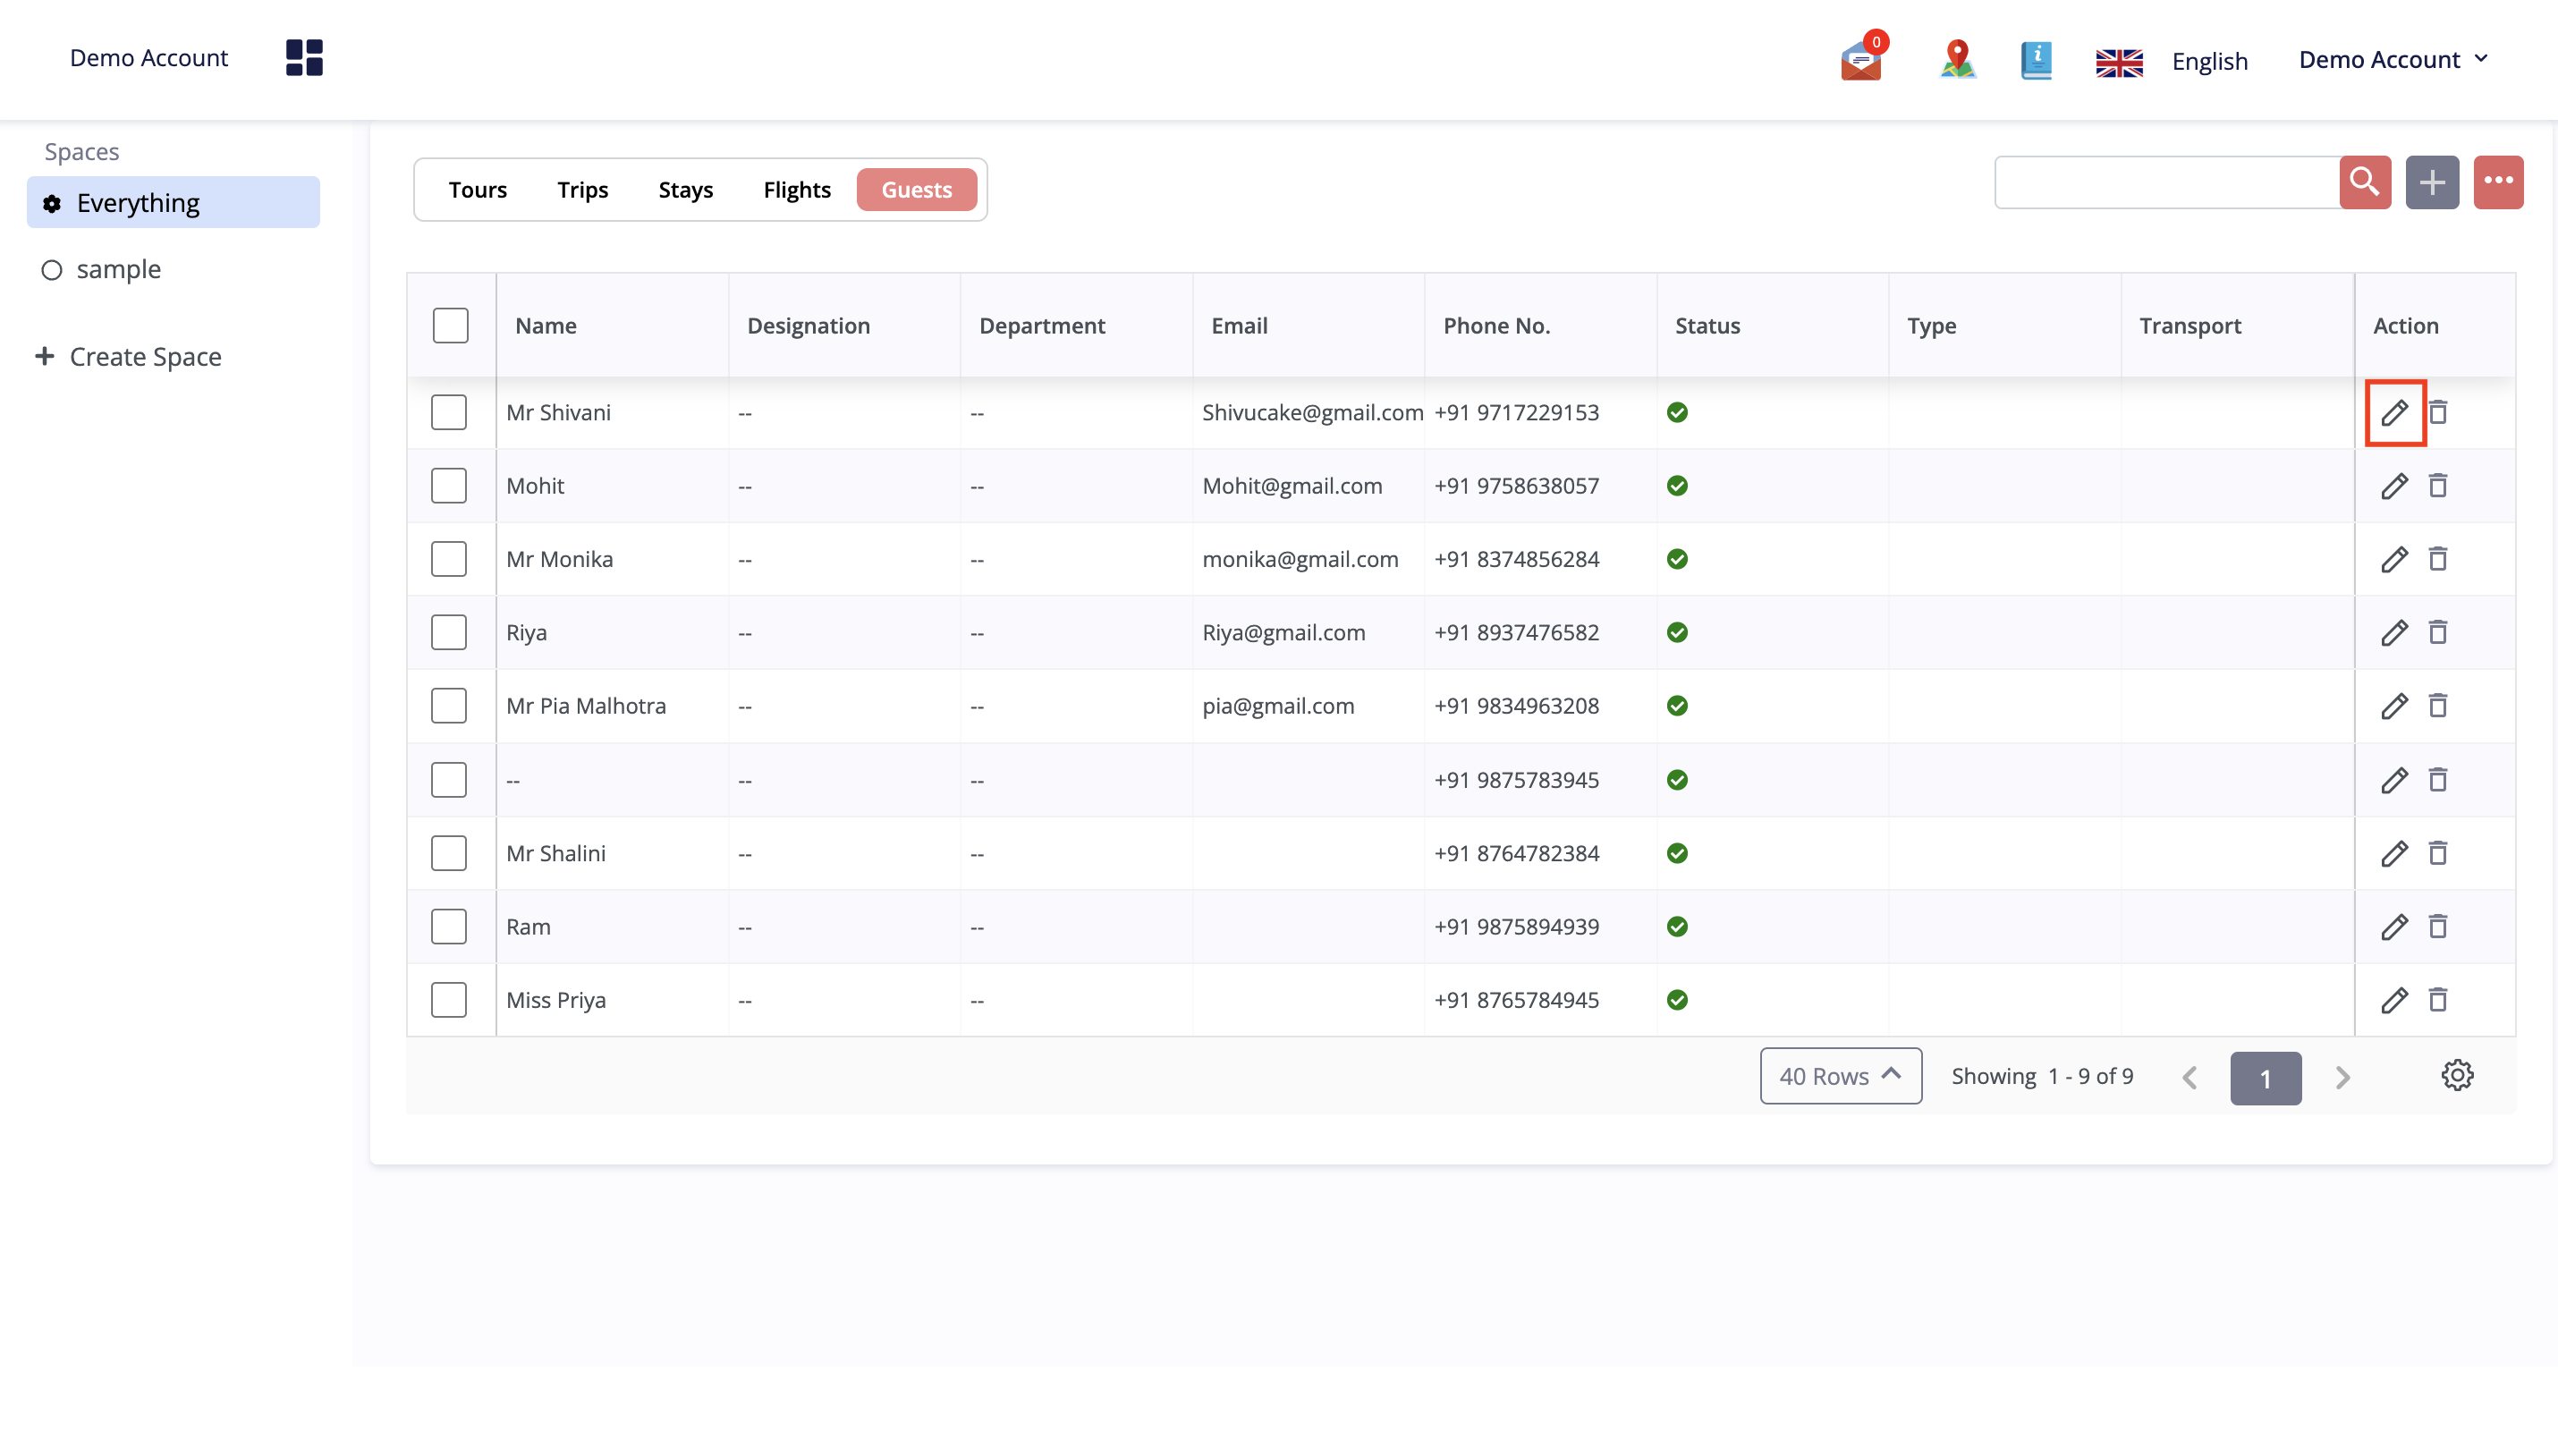
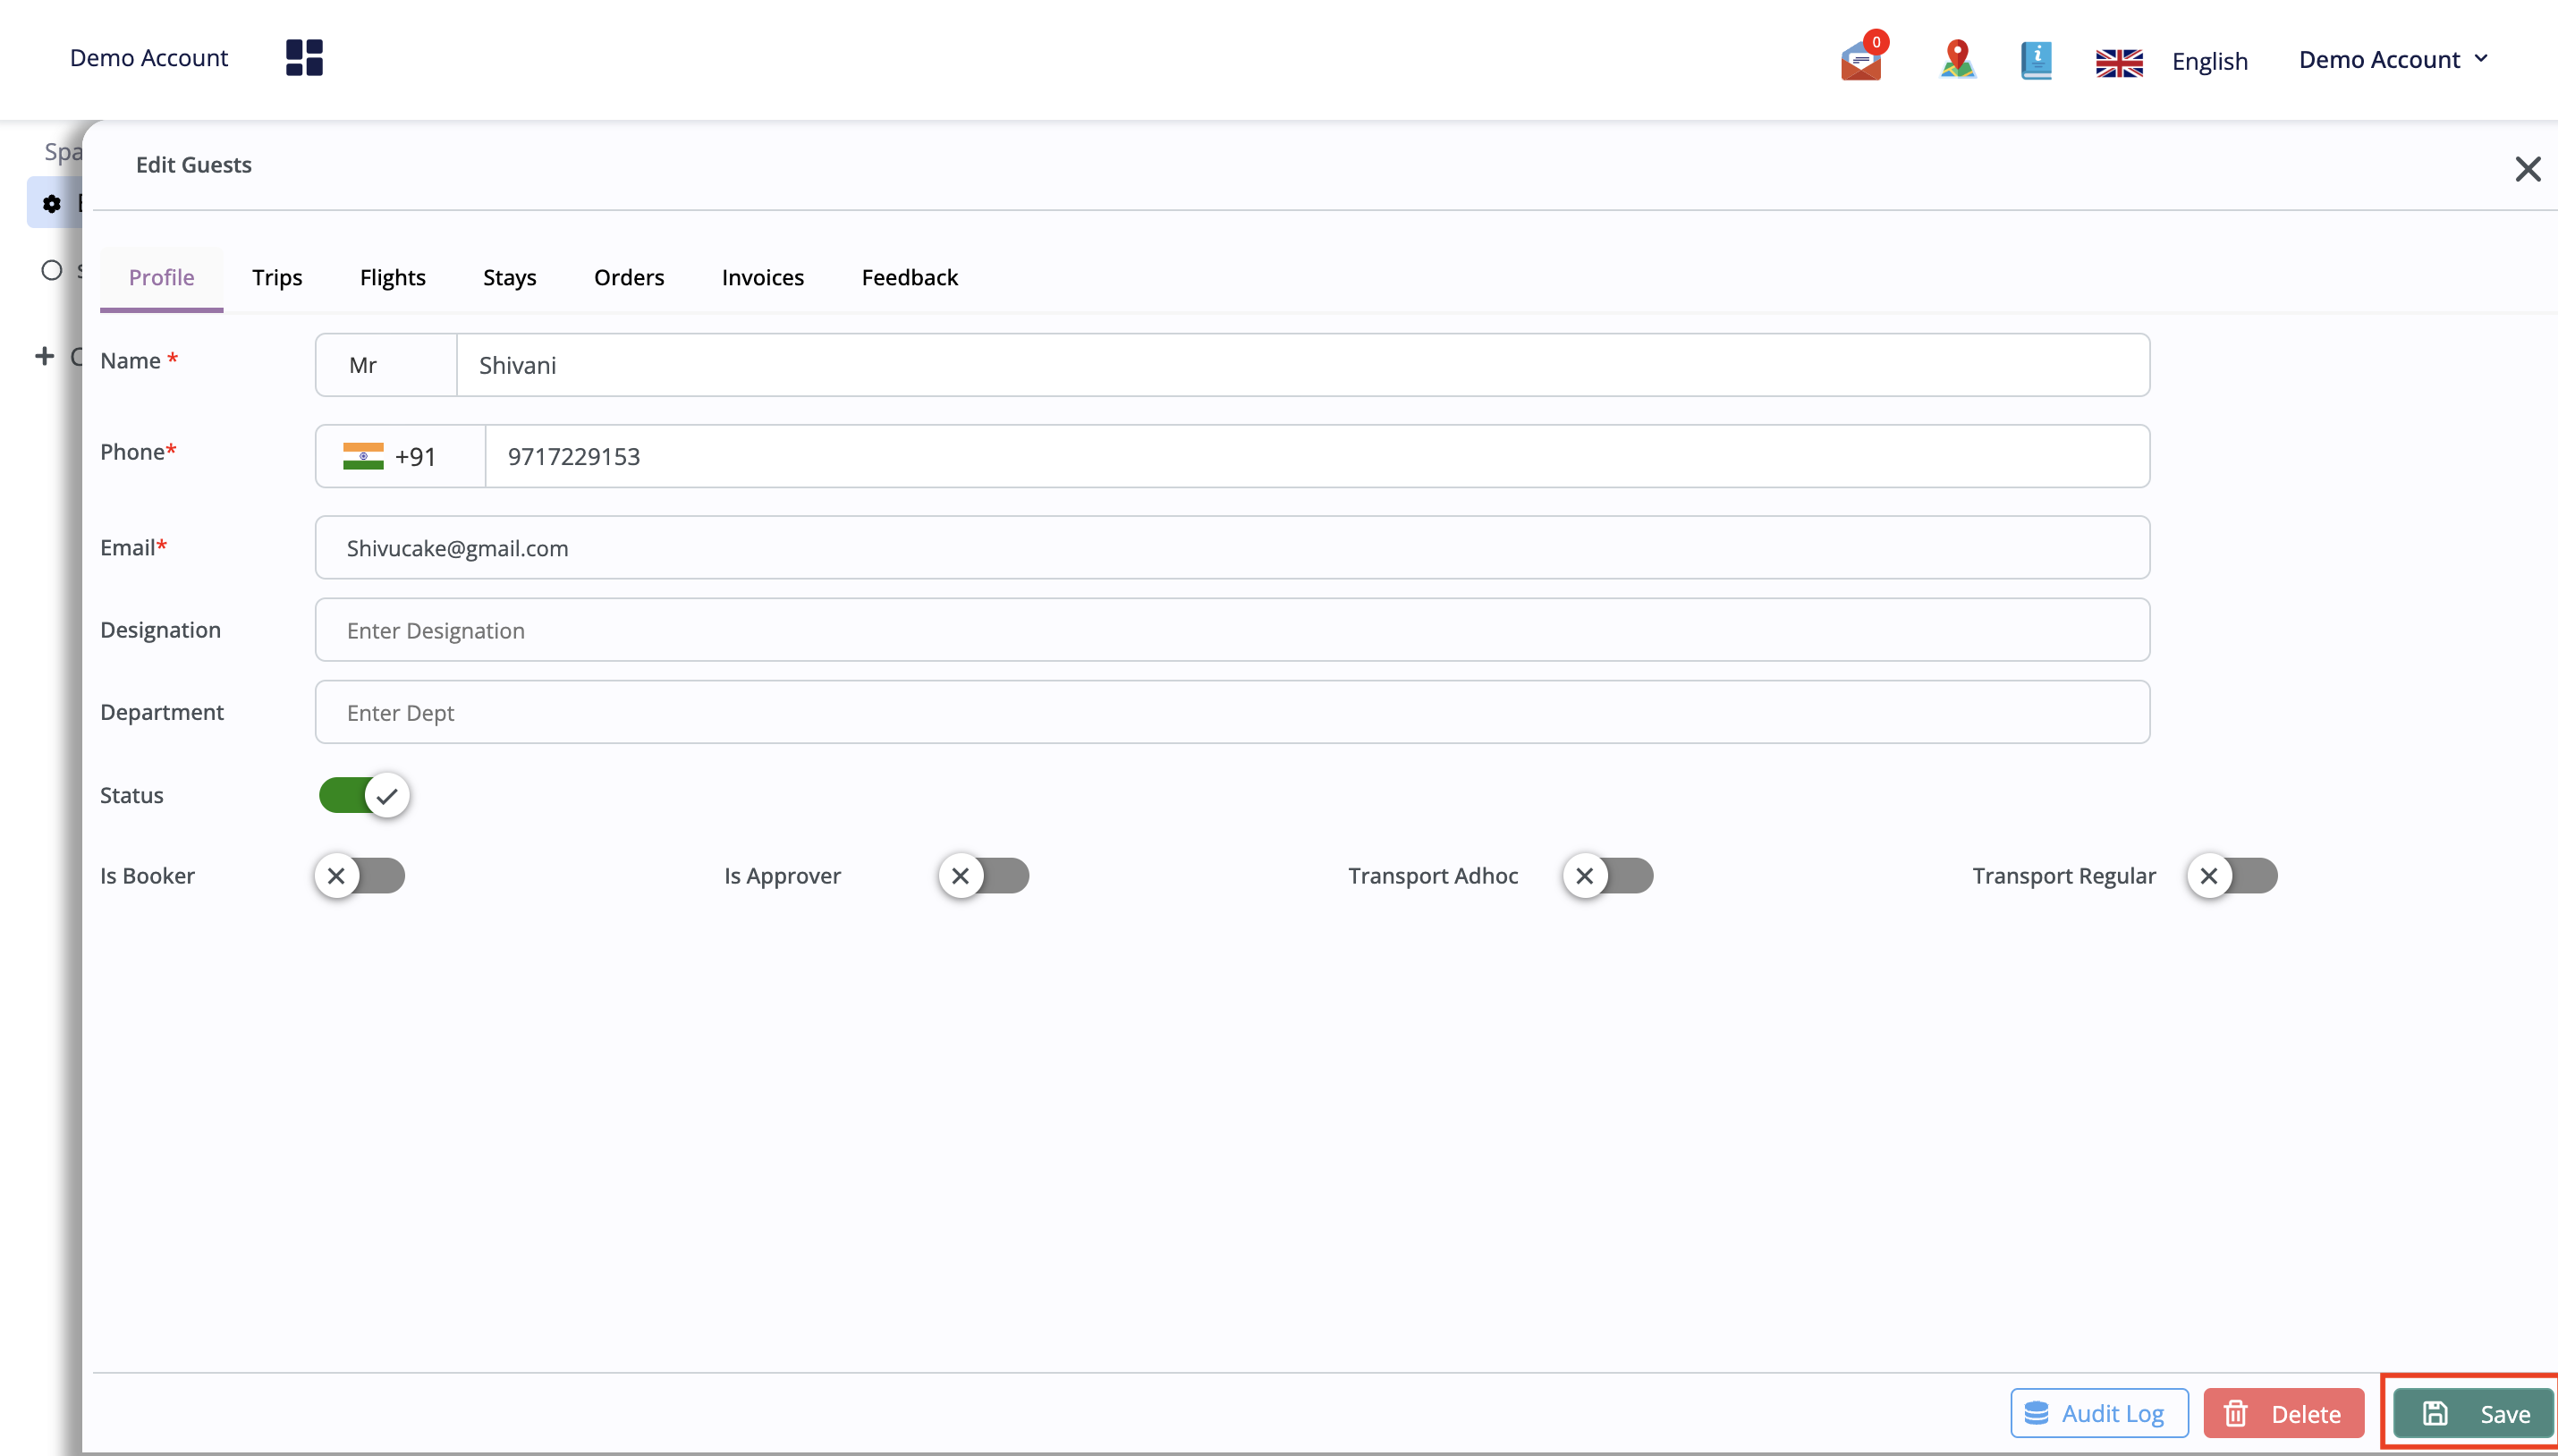
- Update Guest Details: Enter new details or modify existing information in the guest profile as needed, such as contact information, preferences, or reservation details.
- Save Changes: Confirm that all modifications are correct, then click the 'Save' button to apply and save the changes to the guest record.
Bulk Upload
- Navigate to the Guests Tab:
- Access the 'Guests' tab located on the Console.

- Initiate Bulk Upload:
- Locate the three dots icon on the right-hand side of the 'Guests' tab.
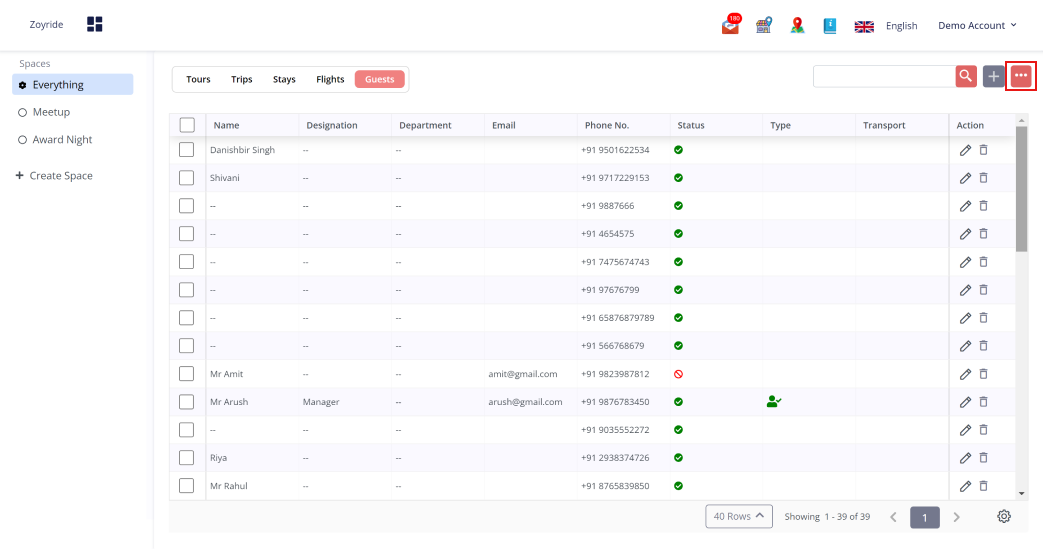
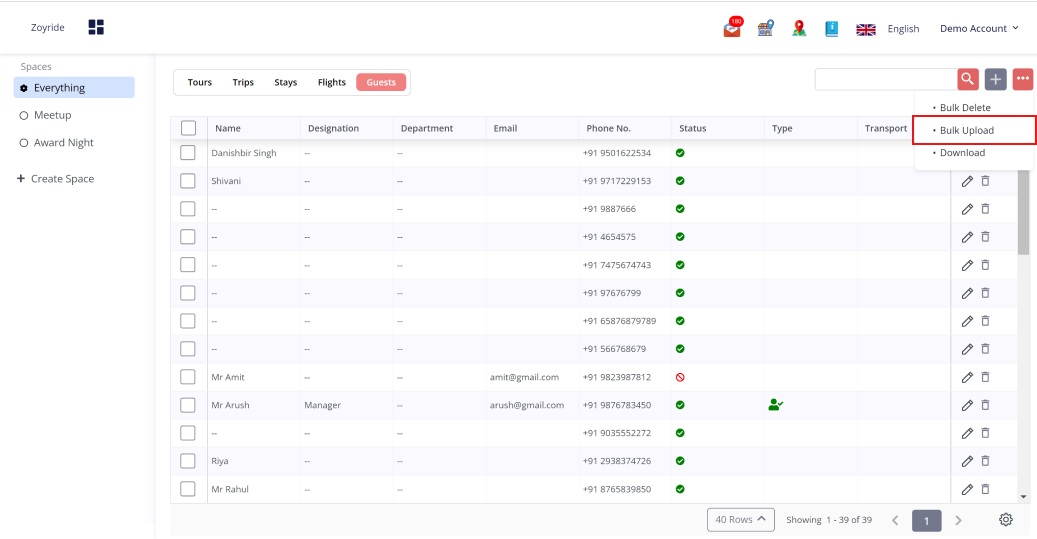
- Click on this icon to open a menu with additional options.
- Select the "Bulk Upload" option from the menu.
- Select Upload Template:
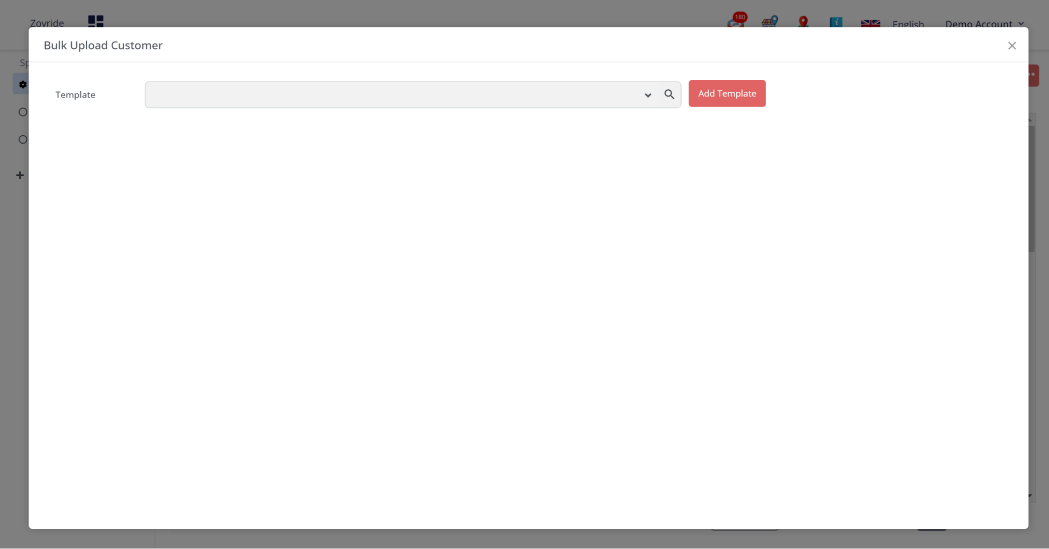
- Once "Bulk Upload" is selected, a pop-up window will appear.
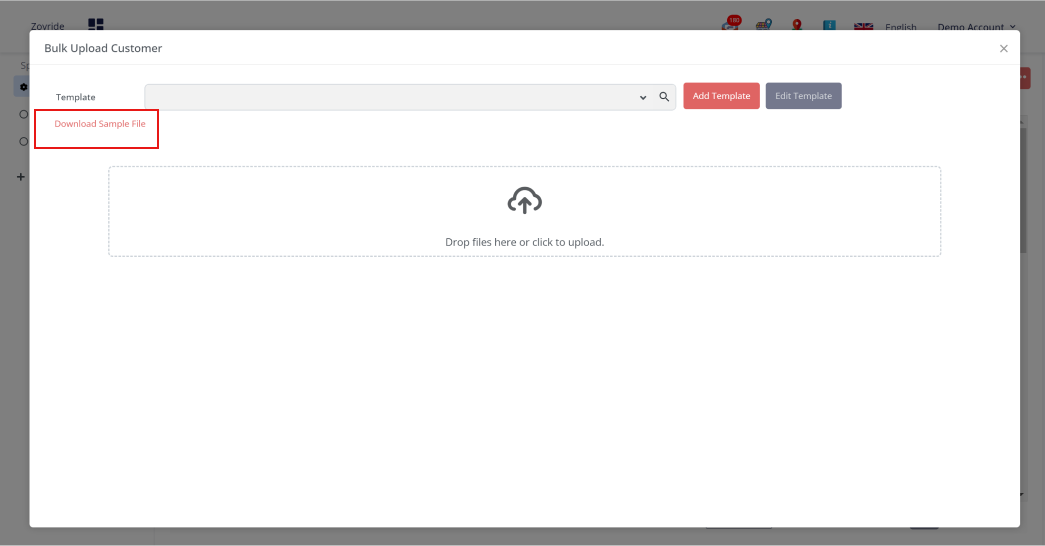
- This pop-up will offer a sample file for download; click to download it.
- The sample file serves as a guide for correctly formatting your guest data.
-
Prepare Your Data:
-
Open the downloaded sample file.
-
Populate it with the required guest data as per the guidelines in the file.
-
Save the filled-out template on your computer after entering all necessary data.
-
Upload the Data:
-
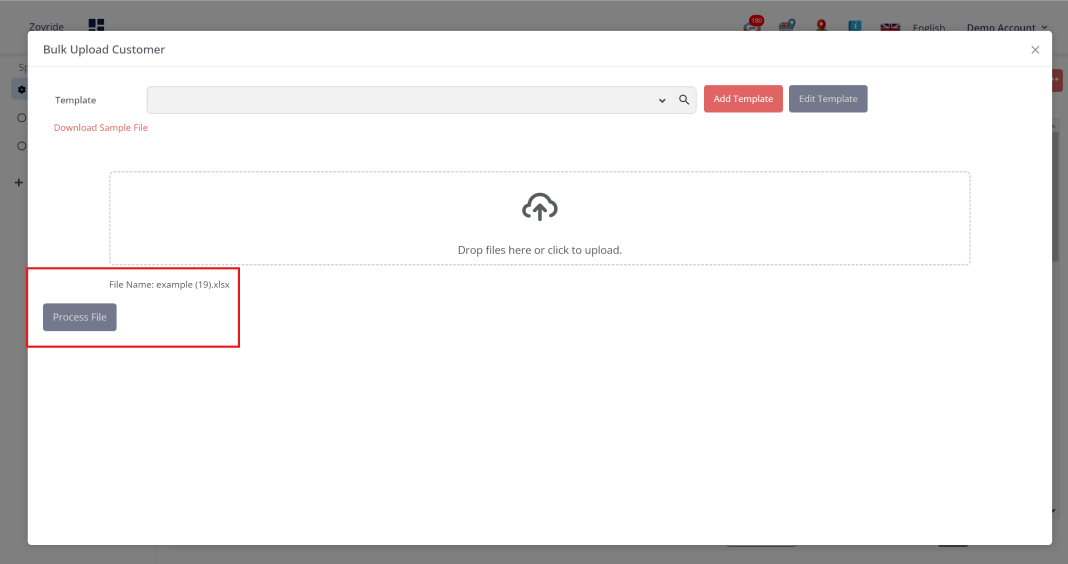
Drop the saved file into the document uploader provided on the Console.
-
All the guest data contained in the file will be automatically added to the system.
This guide ensures that users can follow each step methodically and manage the bulk upload process for guest data effectively.