Client
Manage clients
- Efficiently add details of the clients and upload critical documents related to each client using our CRM Software..
Add new Client data
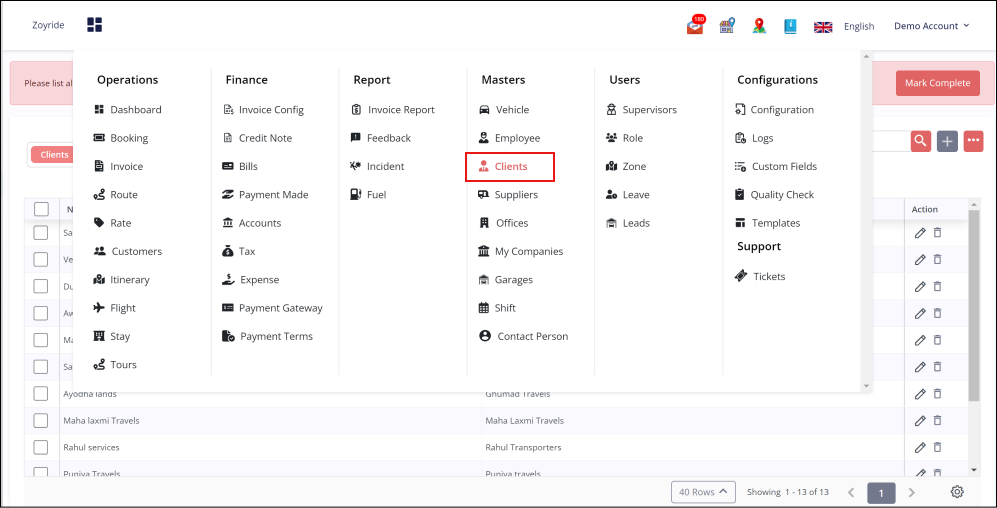
- Navigate to the 'Client' section in our Business Software.
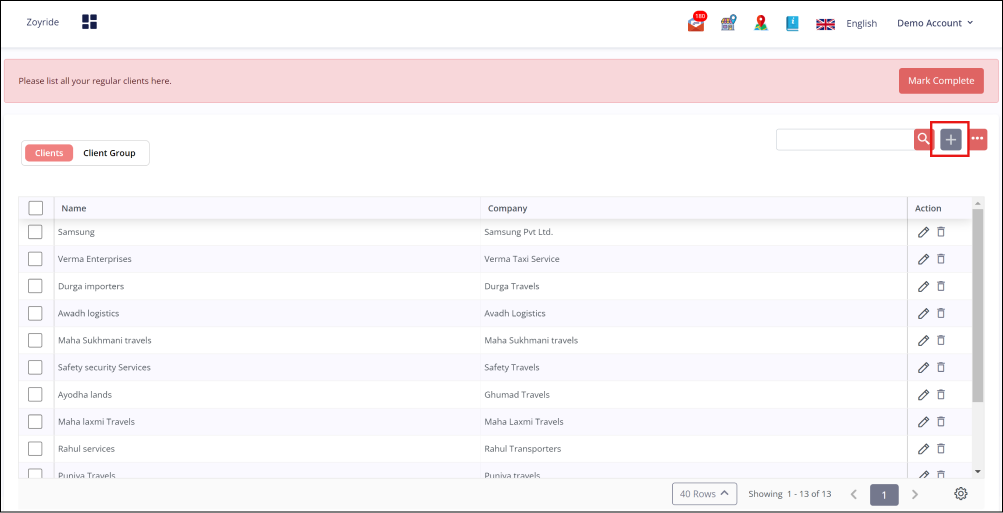
- Click on the "Add" button to initiate the addition of a new client in our ERP Software.
- Complete the required data fields that are presented in our Technology Solutions.
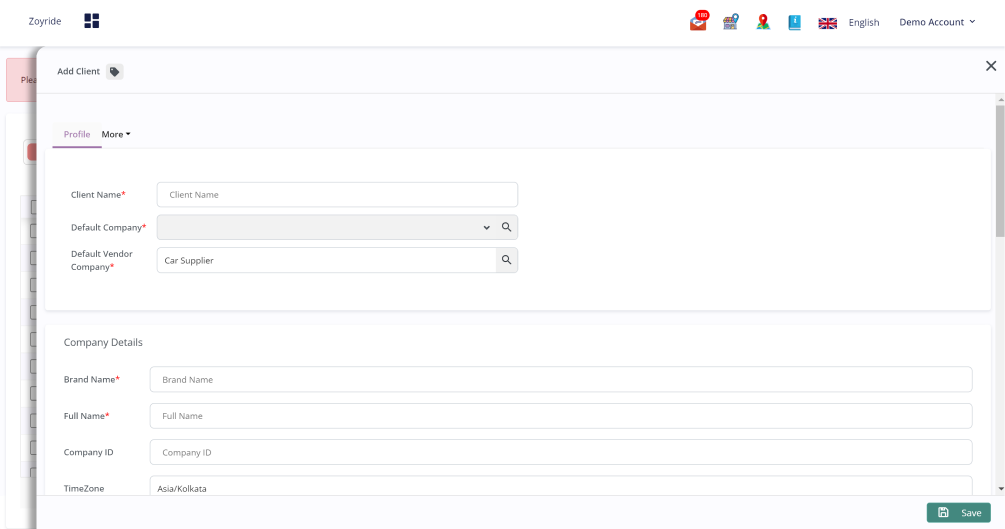
- Once all details are entered, click the "Save " button to save the new client data.
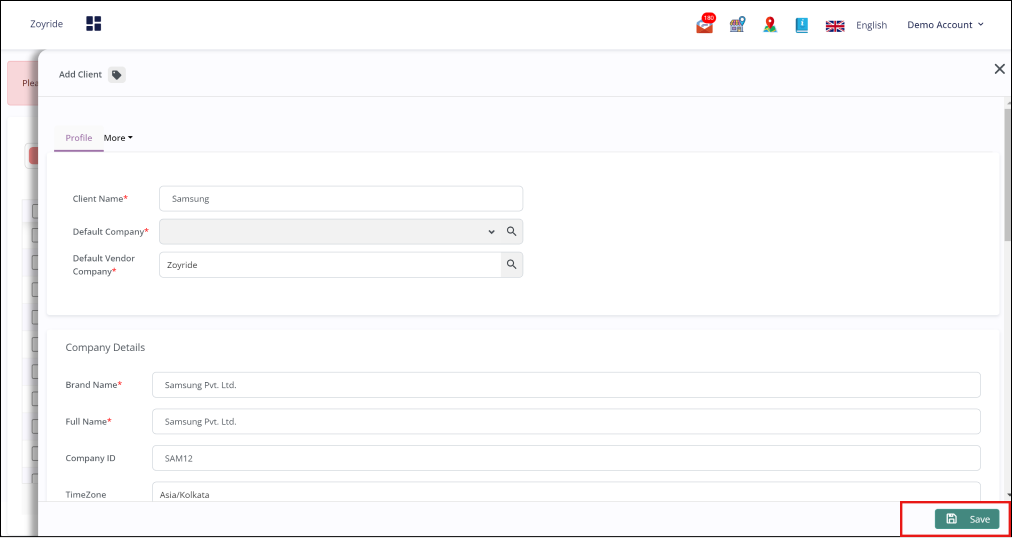
In the client's tab, you can input client information with the following details: Company Details:
- Client Name - Name of the client's company
- Brand Name - Name associated with the client's brand
- Full Name - Full name of the client
- Company ID - Unique identification for the client's company
- Time Zone - Time zone of the client's location
- Currency - Currency used by the client
- Tax ID/GST ID - Tax identification or GST number of the client's company
Client's Office Details:
- Office Name: Name of the client's office
- Address: Physical address of the client's office
Client Company Supervisor Details:
- Name: Name of the client company's supervisor
- Email: Email address of the client company's supervisor
- Phone Number: Contact number of the client company's supervisor
- Roles: Roles assigned to the client company's supervisor
- Department: Department of the client's company
- Designation: Job title or designation of the client company's supervisor
- Wallet Address: Wallet address associated with the client company.
Edit the saved Client
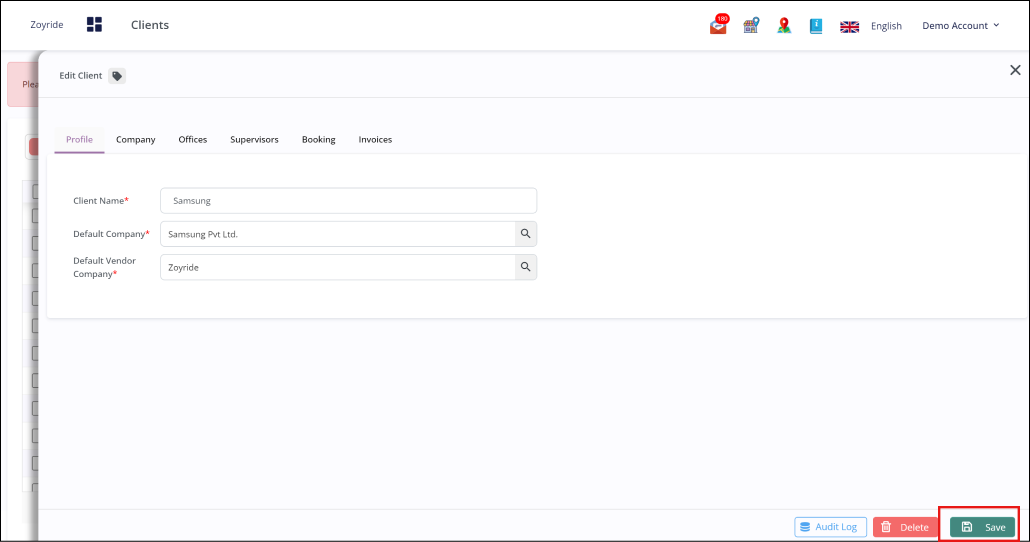
- Click on the Edit Icon: Locate and click on the 'Edit' icon to update client details in our Sales Software.
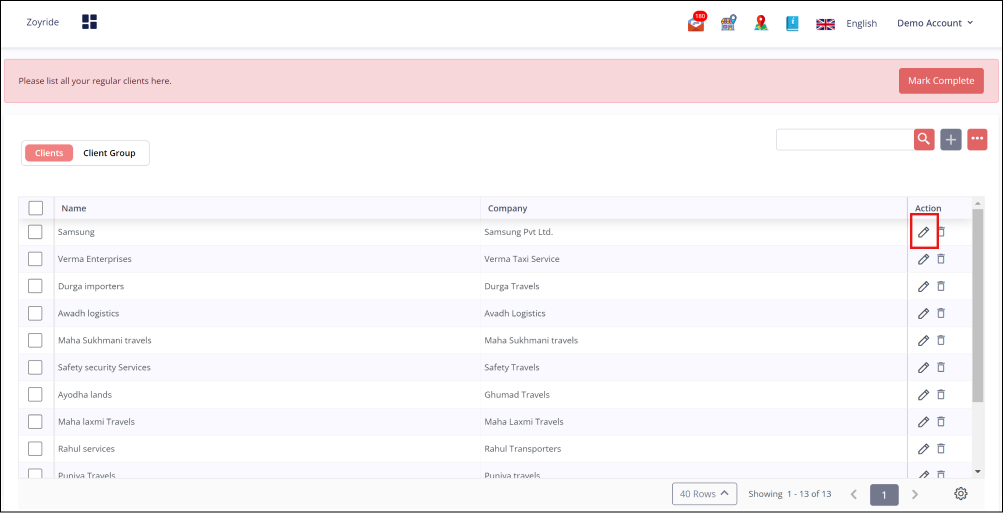
- Edit Client Details: Modify existing information or enter new details to update the client's profile with our Mobile App Development capabilities.
- Save the Updates: Confirm all modifications are accurate, then click the 'Save' button to apply the changes.
